In today's digital age, creating an online presence is essential for organizations looking to streamline their operations and reach a wider audience. With Trackie, designing and launching webpages has never been easier. Whether you're hosting an event, managing a class registration, or creating a club, Trackie provides the tools and flexibility to create customized webpages that engage your audience. In this article, we'll explore how Trackie simplifies the webpage creation process, helping you to maximize your online presence and achieve your goals.
Creating a Stylish Webpage Step by Step
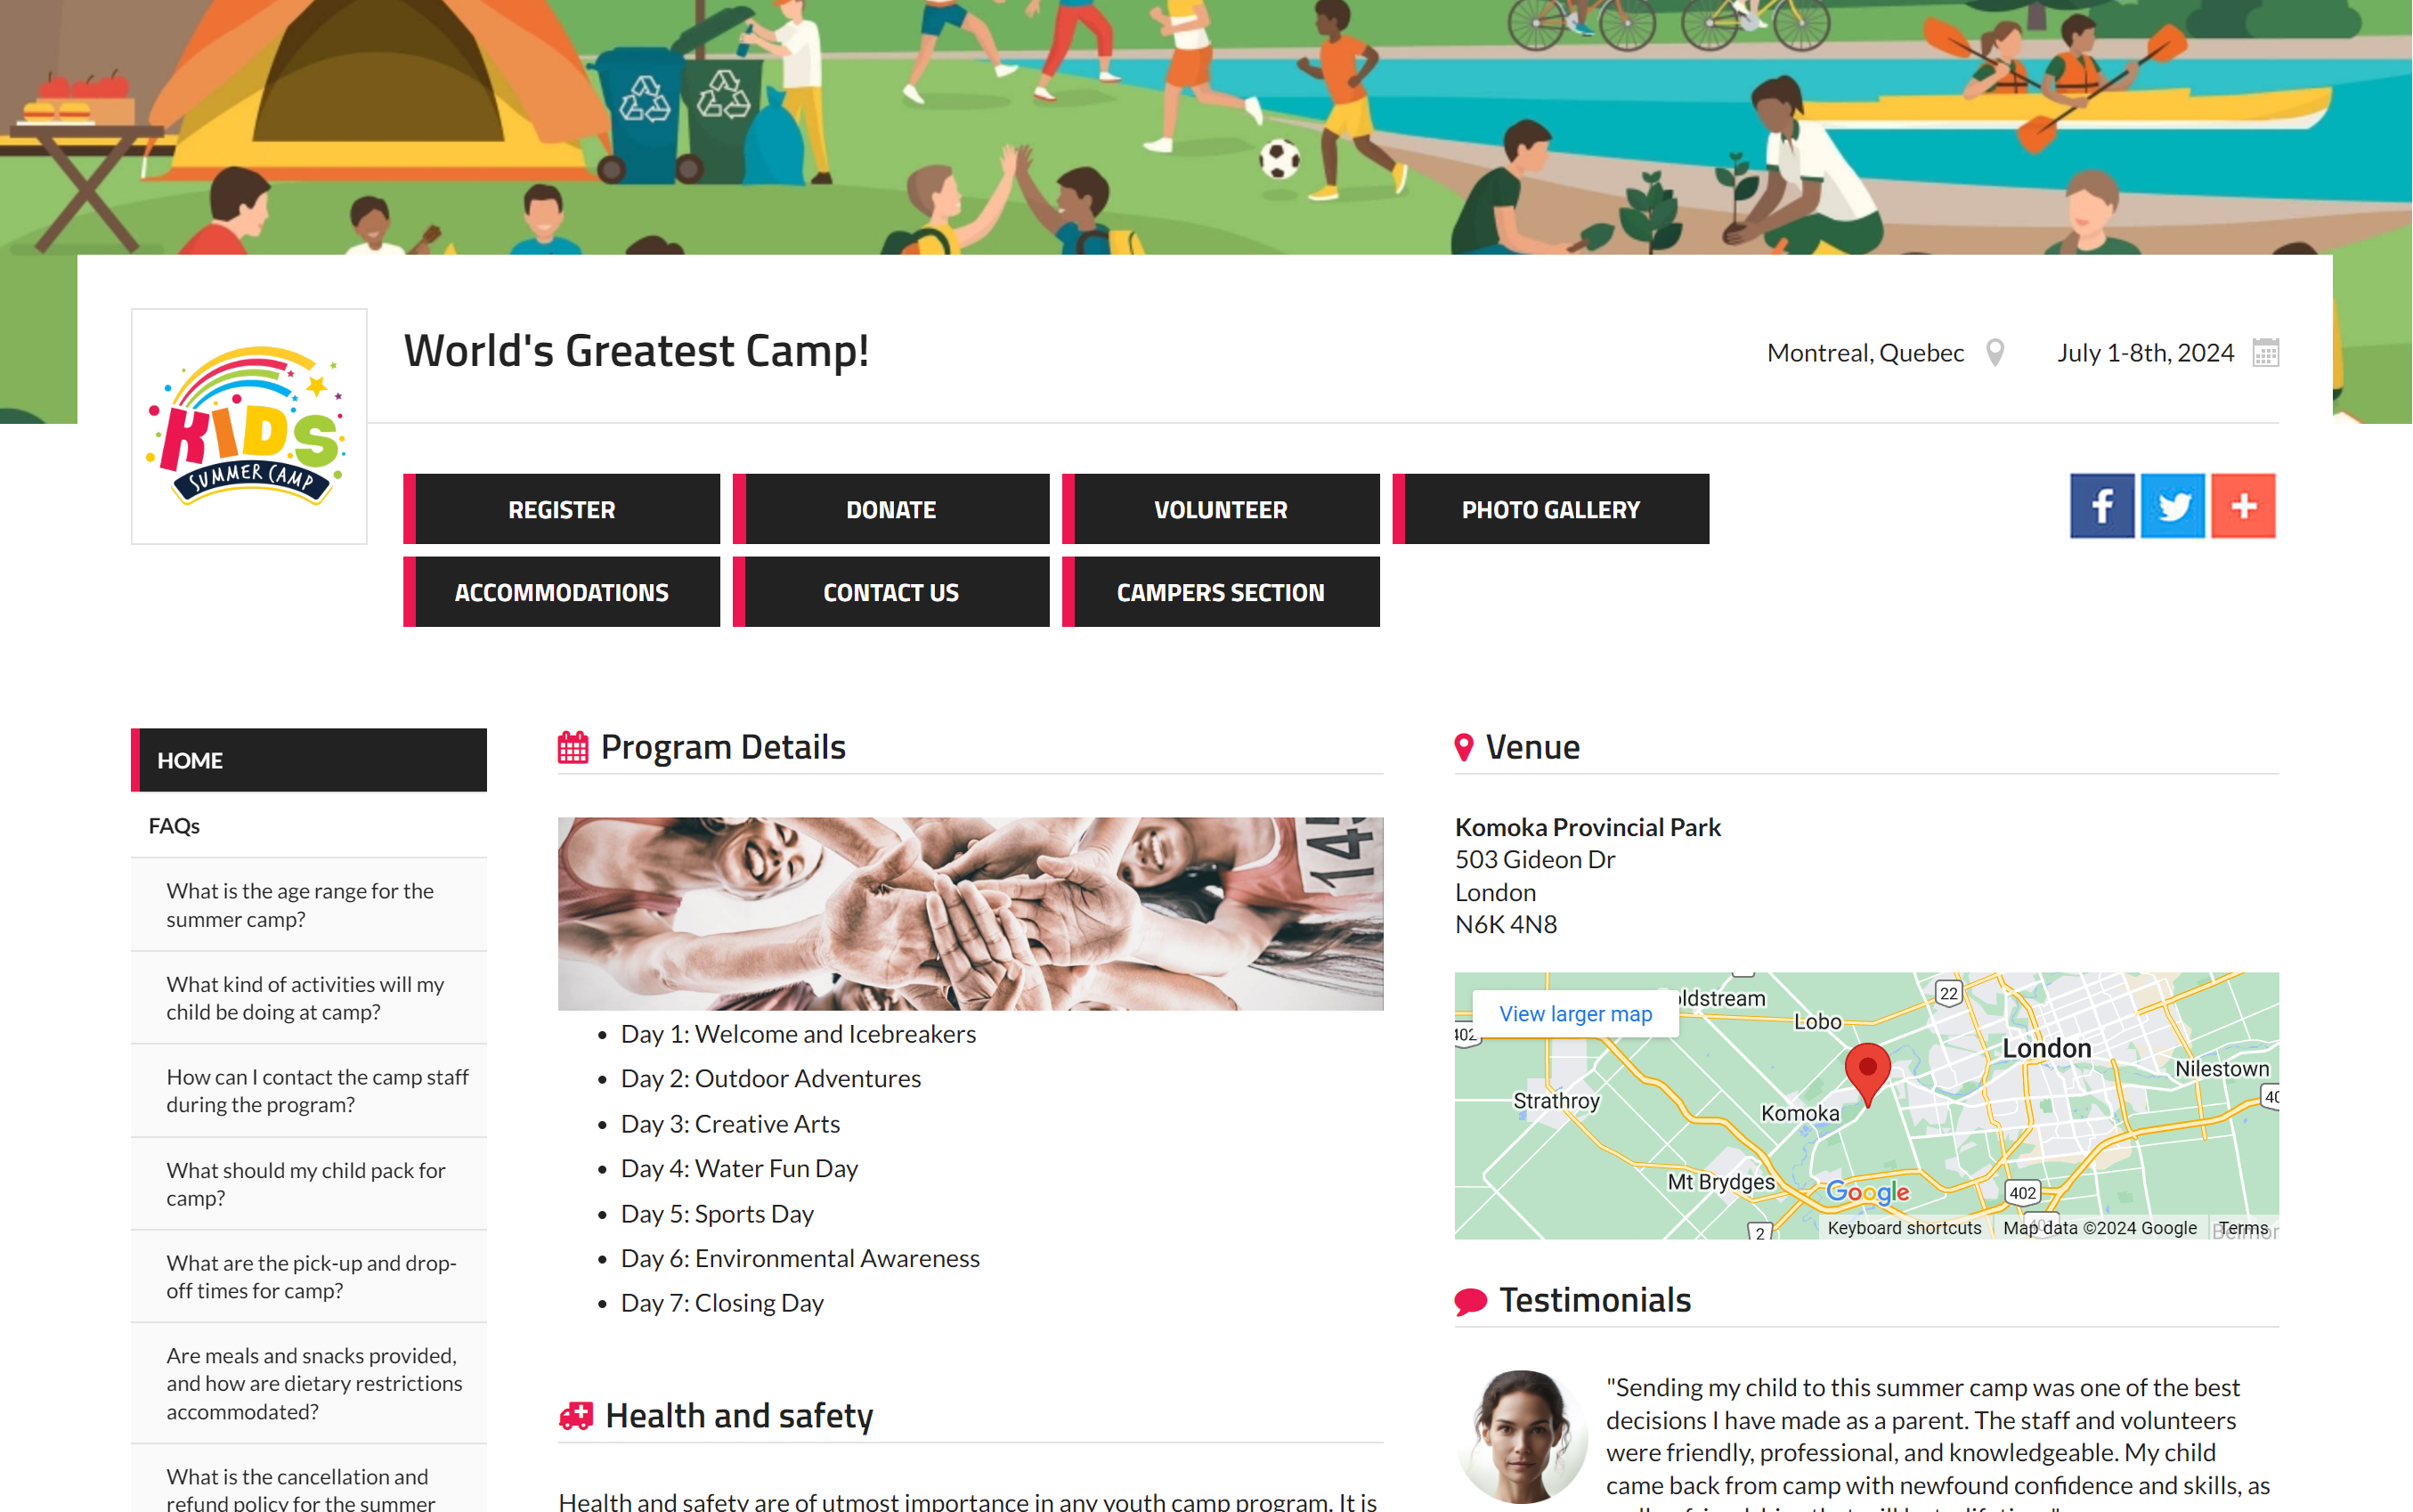
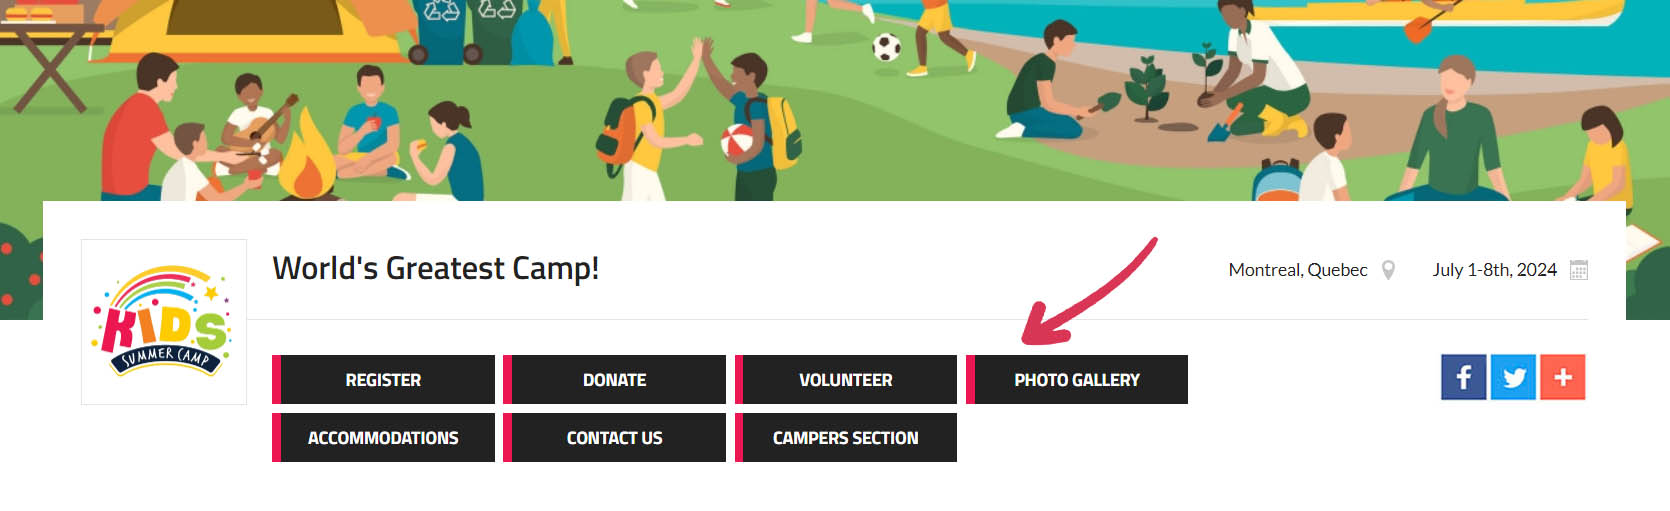
Follow along as we guide you through each step of the process of creating a webpage. As we recreate the "World's Greatest Camp!" webpage, you'll learn how to customize the layout of your page, create an FAQ section, display your venue location, and much more.
1. Starting from a Clean Slate
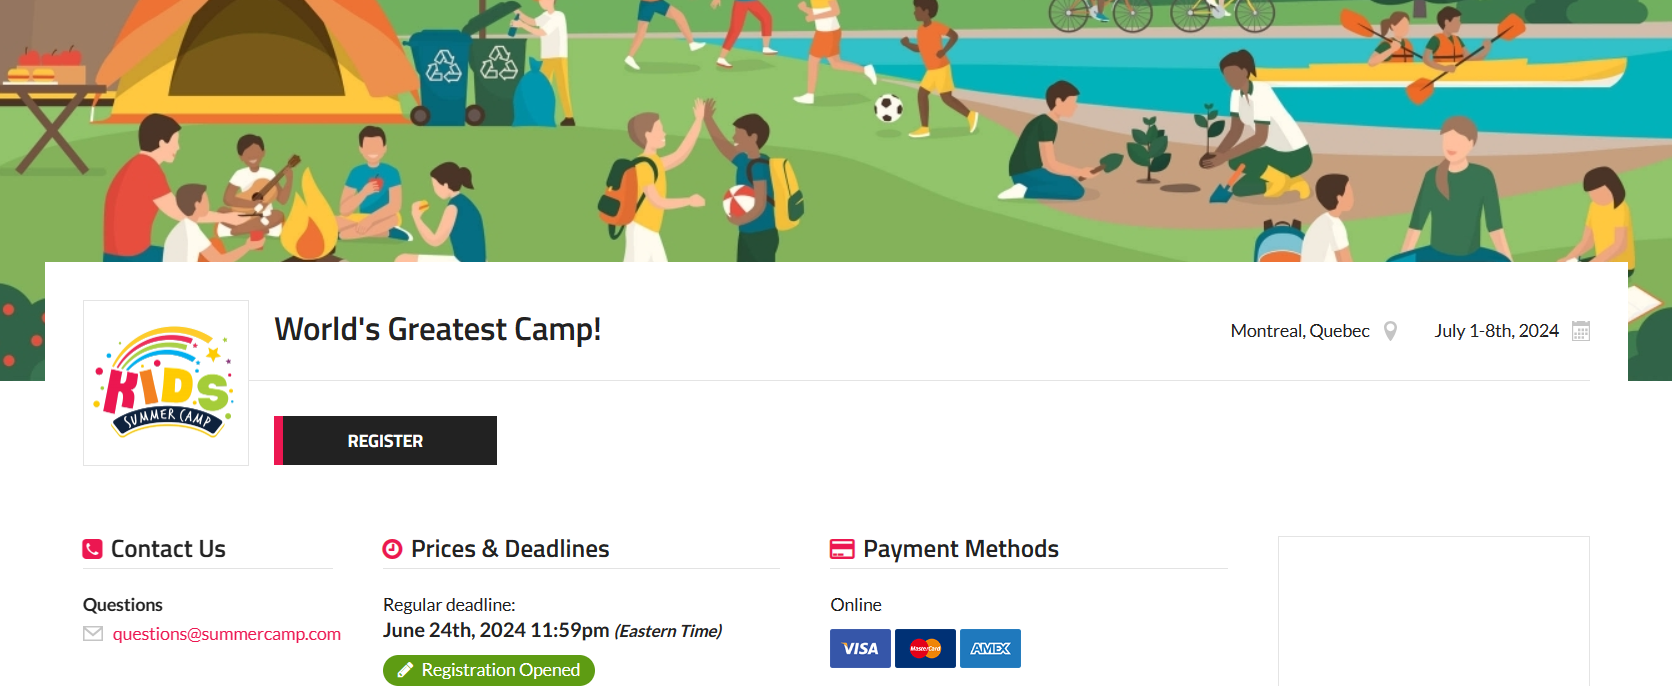
To begin creating a webpage, you'll first need to create an event or club, and then enter basic details such as the event or club name, description, location, and date/time information. These details will form the foundation of your webpage, providing visitors with essential information about your event or club.
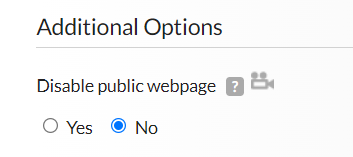
NOTE:If you do not see a page similar to the one above when you access your webpage, go to "01. General Information", then under "Advanced Settings" ensure that "Disable public webpage" is set to "No".
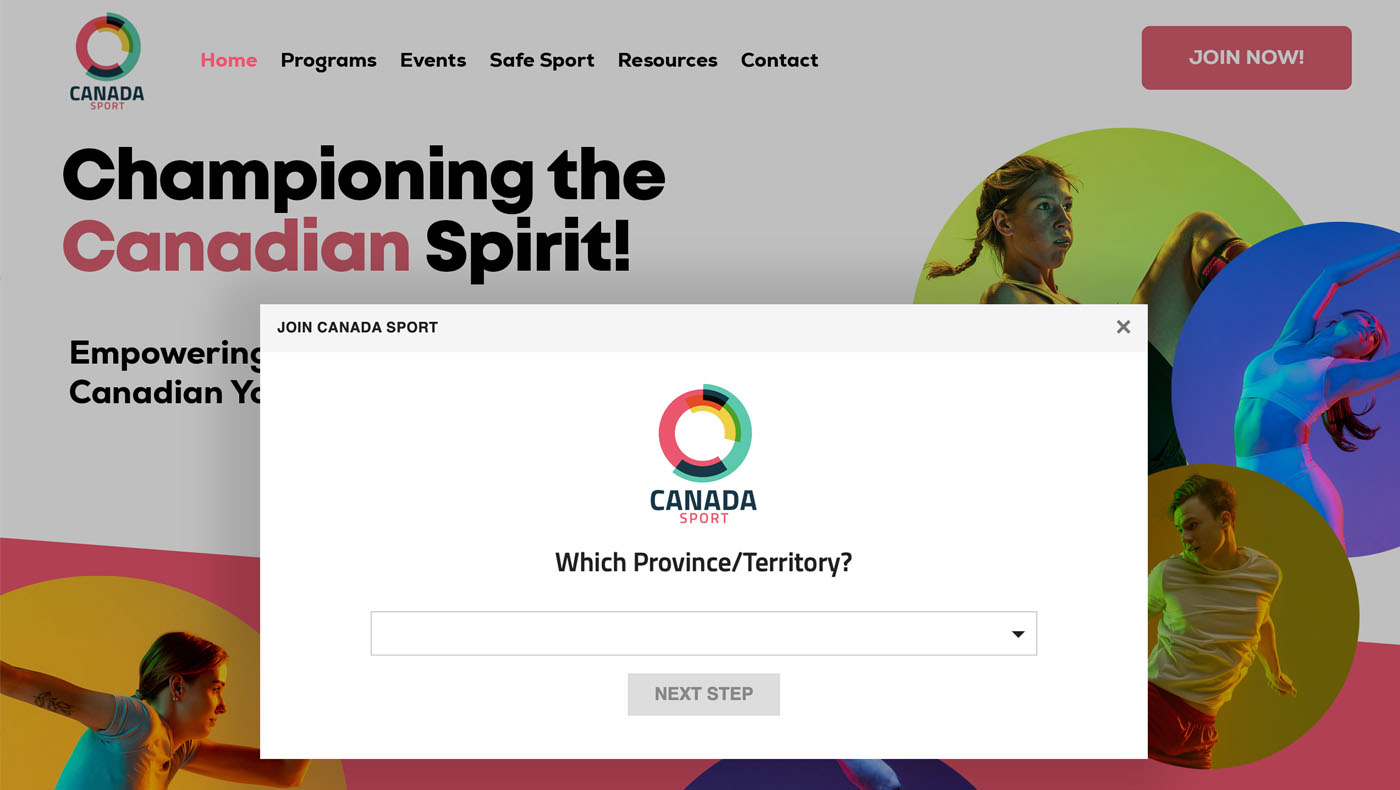
2. Personalizing the Page
Once you've set up the basic details of your event or club, it's time to personalize your webpage to make it stand out. We allow you to add a logo and a banner image to your page, helping to create a professional and visually appealing look. You can also choose a color scheme that reflects your brand or the theme of your event, ensuring a cohesive and attractive design.
Setting It Up:
- Step 1: Go to your event/club settings.
- Step 2: Under "01. General Information", add a logo image by uploading a file.
- Step 3: Add a banner image by uploading a file, or use one of the default banners we provide by clicking on "Choose an image".
- Step 4 (optional): Change your webpage's color by using our color wheel.

3. Social Media Integration
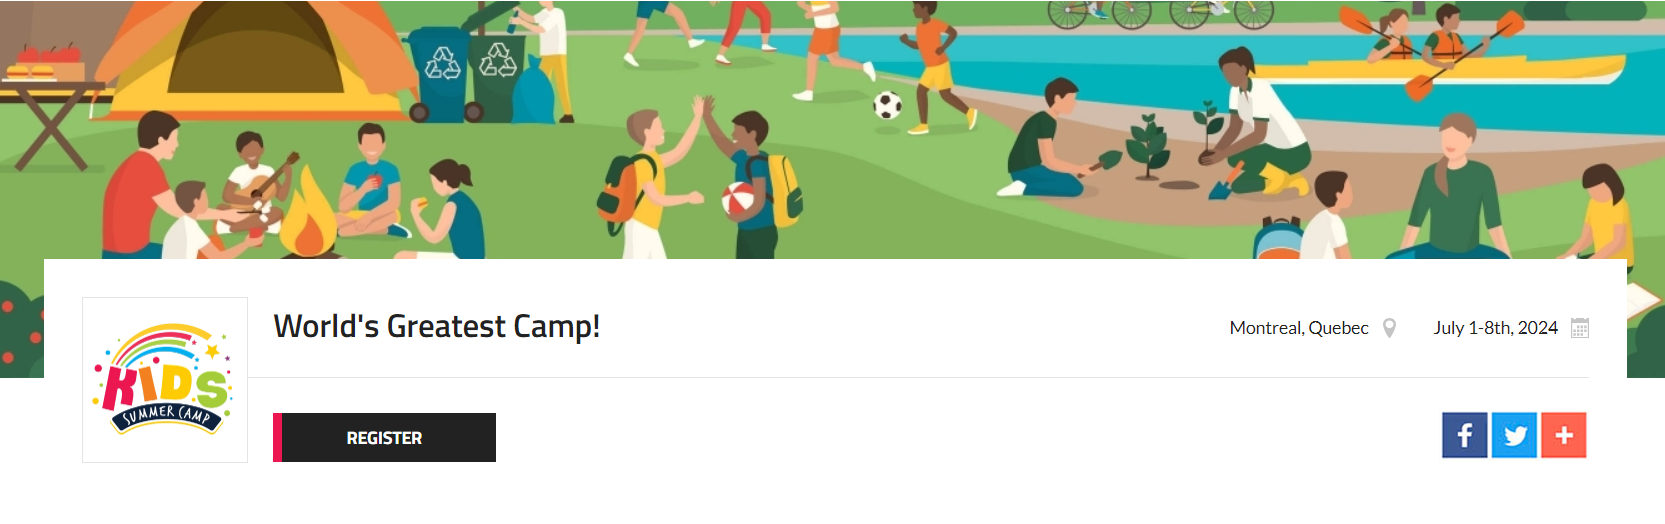
With our social media integration features, you can easily connect your webpage to your social media accounts, such as Facebook, Twitter, and Instagram. This allows you to share updates about your event or club directly from your webpage to your social media followers, increasing visibility and engagement. Additionally, visitors to your webpage can easily share your content on their own social media accounts, helping to further promote your event or club to a wider audience. By leveraging social media integration, you can maximize the reach of your webpage and connect with your audience on multiple platforms.
Setting It Up:
- Step 1: Under "01. General Information", add your X (Twitter) handle, a link to your Facebook page, and a link to your Instagram page.

- Step 2: Under "Advanced Settings", ensure "Hide social media sharing" is set to "No".
![]()
4. Adding Content to Your Page
Adding content to your webpage is crucial for providing potential registrants with all the information they need to know before signing up. You can include detailed descriptions of your event or club, including the schedule, agenda, and any special guests or activities. It's also a good idea to provide information about registration fees, deadlines, and any discounts or promotions available. Additionally, you can include FAQs to address common questions and provide contact information for further inquiries. By adding relevant and helpful content, you can ensure that visitors to your webpage have all the information they need to make an informed decision about registering.
Inline Content
Our inline content feature allows you to seamlessly add new sections and embed images into your webpage. In our example, we developed inline material for the "Program Details," "Health and Safety," and "Testimonials".

Setting It Up:
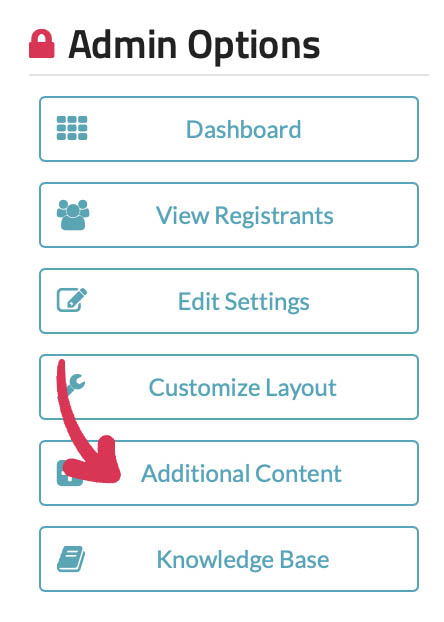
- Step 1: Create a new inline content section within your webpage by clicking "Additional Content" under "Admin Options". Next, click on "Inline Content" and then "Add Content".
- Step 2: After adding all of your desired text, you can add an image by clicking on the image icon in the toolbar.
- Step 3: Upload your image and then click on the "click here" link to insert the image.
- Step 4: Drag and drop the image where you would like it to be placed and resize the image to your preferred size.
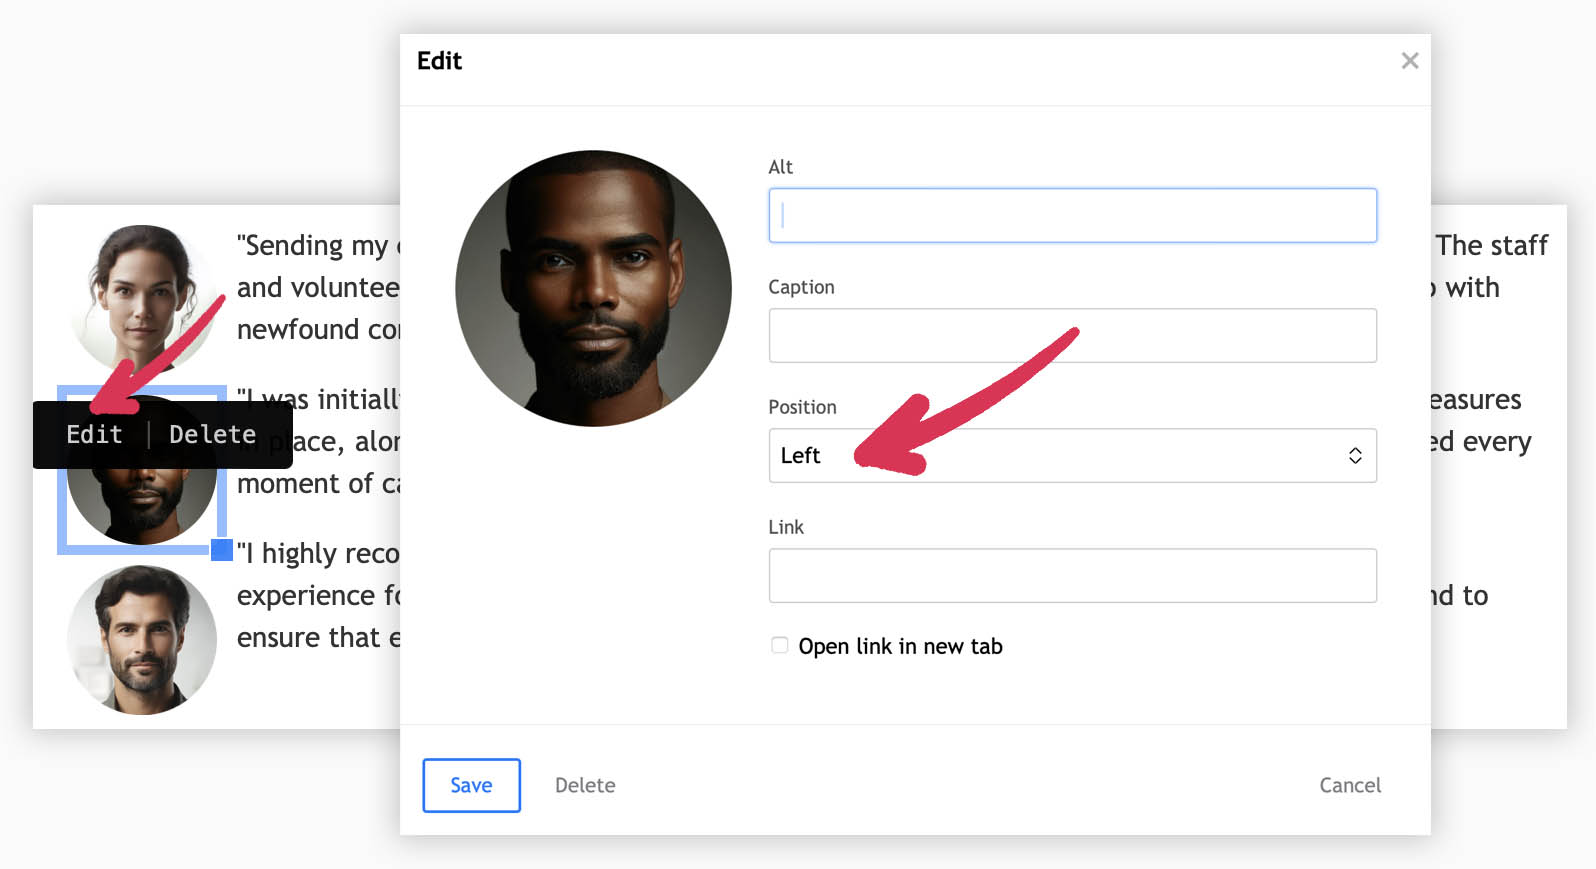
- Step 5: If you would like for the image to be placed next to the text, click on the image and choose "Edit". Next, click on "Position" and choose the option you desire for your image.

Adding a Location Map
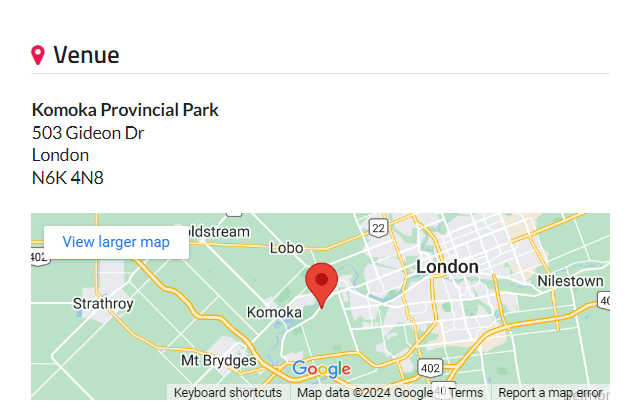
Our venue mapping feature enables you to easily integrate a detailed map of your event's location into your webpage, helping attendees find their way and enhancing the overall event experience.
Setting It Up:
- Step 1: Go to your event/club's settings page.
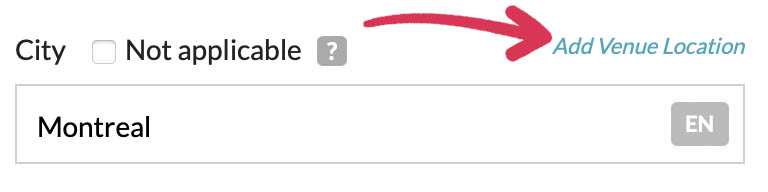
- Step 2: Under "01. General Information", find the "City" field.
- Step 3: To the right of "City", click on "Add venue location" and add the relevant information to your venue.
NOTE: The venue map will initially appear on the left side. It can be moved to a different location later, if desired, by using the "Customize Layout" button.
Creating a Left Side Menu
Our platform allows the creation of a left side menu on your webpage, enhancing content organization and user navigation. For instance, integrating a Frequently Asked Questions (FAQs) section directly through this menu can significantly aid visitors by offering immediate access to essential information, thereby decreasing the volume of further inquiries. It's important to note that the left side menu is fully customizable, allowing you to tailor it according to your specific content needs and preferences, ensuring a more personalized and efficient webpage experience.
Setting It Up:
- Step 1: Under "Admin Options" on the webpage, click on the "Additional Content" option.
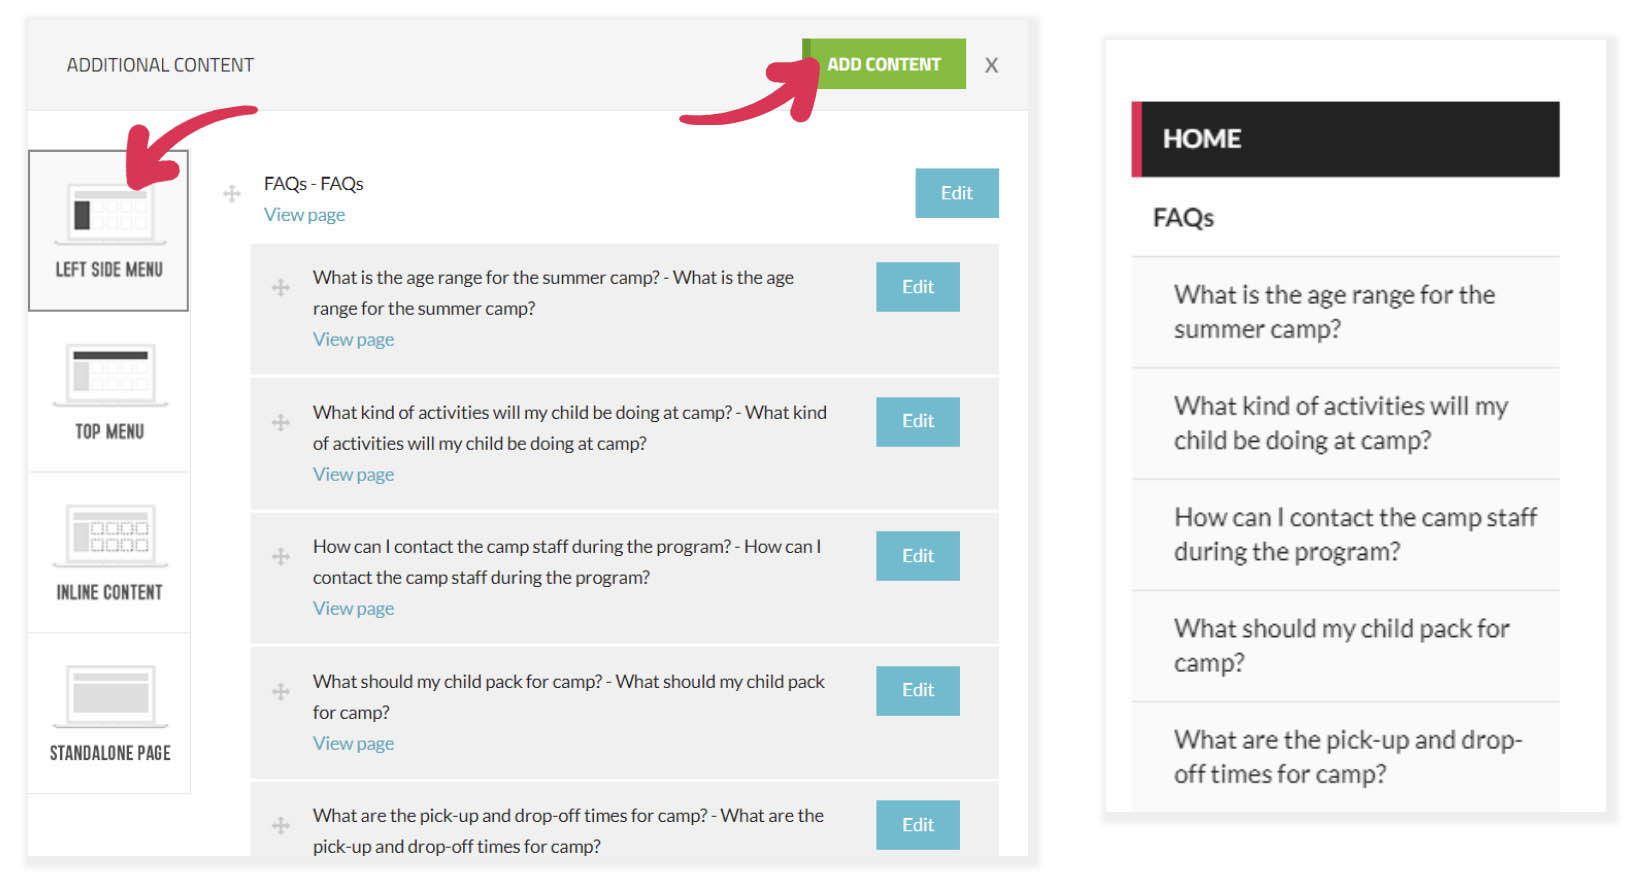
- Step 2: On the left side bar, click on "Left Side Menu".
- Step 3: Click on the green "Add Content" button and enter "FAQs" for the Menu Text and Title fields. Then click the "Update" at the bottom of the popup.
- Step 4: Under your newly created "FAQs" section, click on "(+) Add Submenu" to add your commonly asked questions and answers.
Creating a Top Menu
You also have the option to create a top menu. For instance, in our example, we've added top menu options for "Photo Gallery", "Accommodations", "Contact Us", and an exclusive area for registrants called the "Campers Section". Similar to the functionality of the left-side menu, it offers you enhanced control over your website's organization.
Setting It Up:
- Step 1: Under "Admin Options" on the webpage, click on the "Additional Content" option.
- Step 2: On the left side bar, click on "Top Menu".
- Step 3: Click on the green "Add Content" button and enter the information for your section.
- Step 4 (optional): To restrict a section to your registrants, simply select 'Registrant access only'. This ensures exclusive content is available only to registered members, thereby enriching their experience and providing additional value.

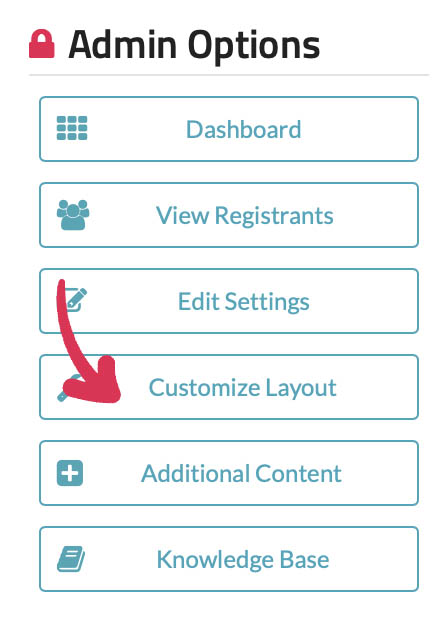
5. Customizing the Layout
Our drag-and-drop interface empowers you to effortlessly customize the layout of your webpage by rearranging sections, ensuring a unique and tailored design that suits your needs. Within this section, you also have the option to hide inline content. For example, in our case, we chose to hide the automatically generated 'Prices & Deadlines' and 'Payment Methods' inline content. This allowed us to create our own custom inline content for pricing, offering us greater control over its visual presentation. Similarly, we chose to remove the default 'News/Social Feeds.' However, you might find leveraging our built-in news feed beneficial for your site.
Setting It Up:
- Step 1: Under "Admin Options" on the webpage, click on the "Customize Layout" option.
- Step 2: Drag and drop the section you want to move.
- Step 3 (optional): To hide online content, simply click the 'Hide' checkbox located beneath the content.
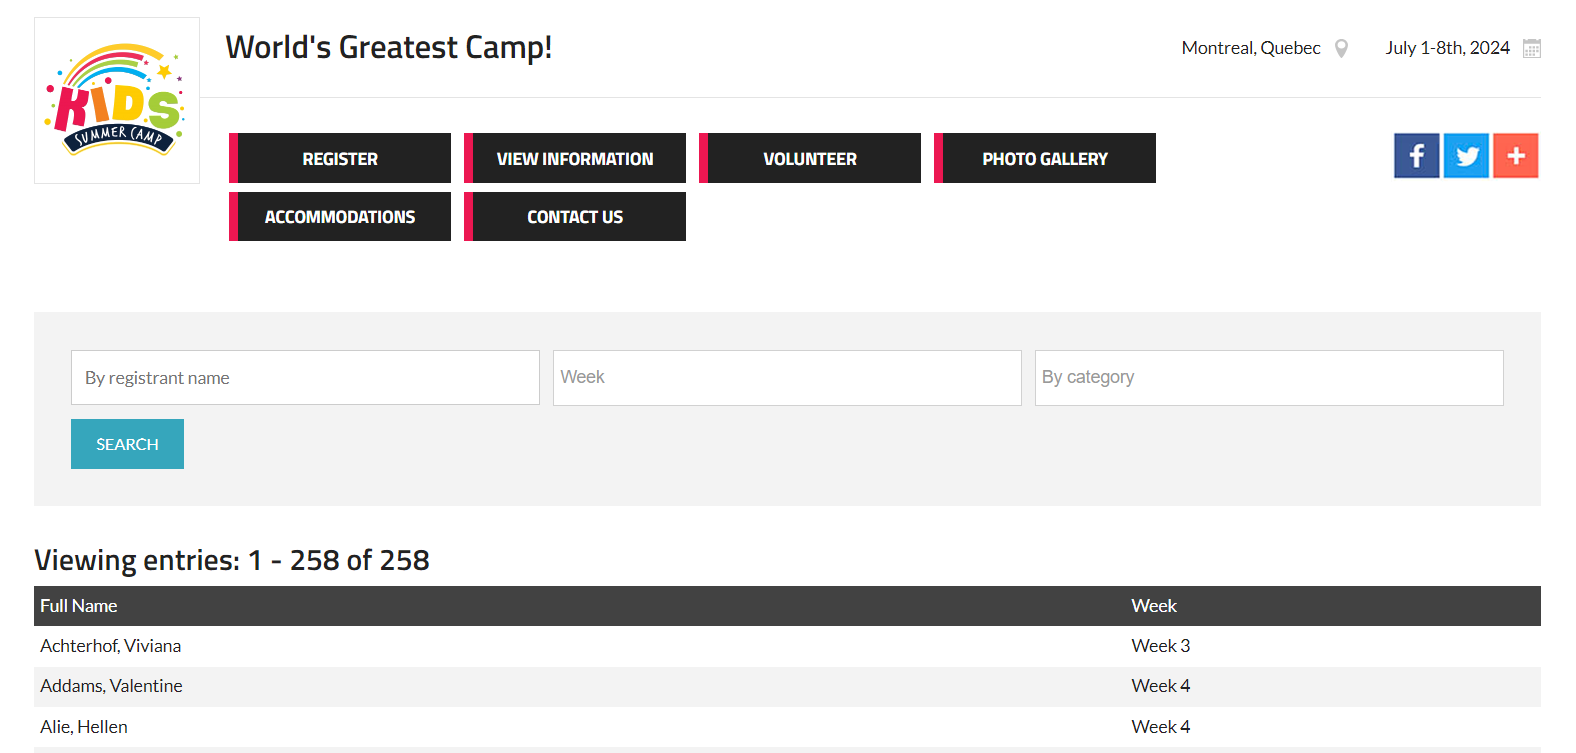
6. Confirmation List
You can easily enable or disable a confirmation list, providing you with the flexibility to choose whether to display a list of all registered individuals publicly on your webpage.
Setting It Up:
- Step 1: Under "01. General Information", scroll down to "Advanced Settings" and find "Confirmation List".
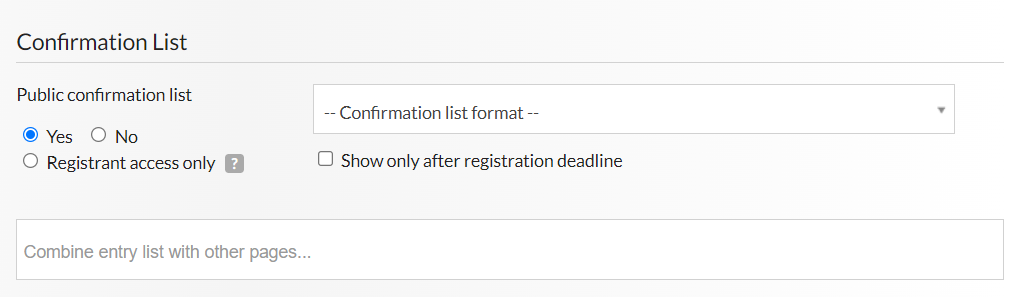
- Step 2: In the case that you do not want the list of registrants to be open to the public, set to "Public confirmation list" to "No".
We're excited for you to explore our webpage builder. Remember, the examples we've provided are just starting points—feel free to let your creativity run wild and tailor them to your vision. For more detailed information on our webpage builder, please see our knowledge base here. We're eagerly looking forward to discovering the incredible pages you'll bring to life. Keep an eye out for future 'Wisdom Wednesdays,' where we'll continue to unveil more insights and tricks to enhance your experience with our system.
If you have any questions, please feel free to contact us at support@trackie.com.