Typically, registration forms are left fully open to the public, facilitating easy registration for a wide range of participants. However, for organizers seeking more control over their events or club memberships, let's explore some settings that can help manage this aspect effectively.
1. Setting Up an Access Code
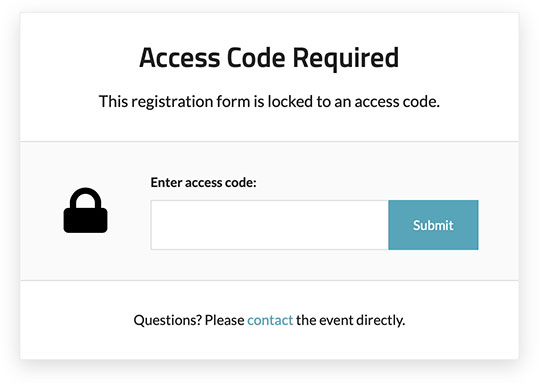
Implementing an access code offers a straightforward and effective approach to controlling registrations. With this method, only those possessing the correct code can access the registration form. This technique is beneficial as it allows you to conveniently share the code with selected individuals you wish to register. However, it's important to note that this method may not offer the highest level of security, as anyone with the code can easily share it with others.
Setting It Up:
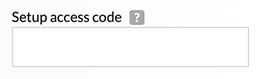
- Step 1: In your event or club settings, first navigate to the '01: General Information' section. Once there, look under the 'Advanced Options'. In this section, you will find an input field labeled 'Setup access code'. Enter your desired code in this field.
- Step 2: To finalize and save the changes you've made, make sure to click on the 'Update Information' button.

2. Restricting Access to Specific Emails
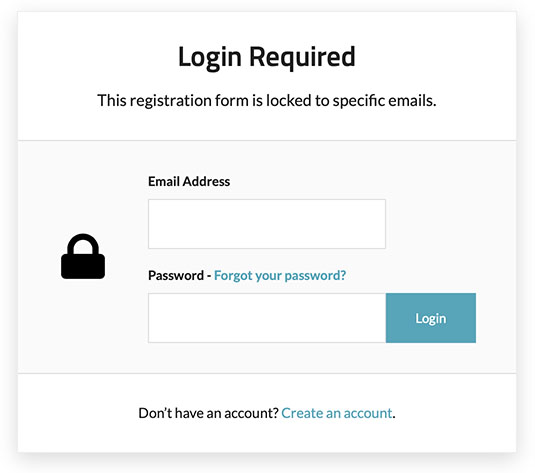
For a more customized approach, think about limiting access to specific email addresses. This method is particularly suitable in scenarios like setting up a University Championship, where you might want only University coaches to have access to the registration form. It guarantees that solely those with pre-approved email addresses can complete registrations. While this approach is somewhat less convenient than using a simple access code, it provides enhanced security in controlling registration access.
Setting It Up:
- Step 1: In your event or club settings, navigate to the '01: General Information' section. Within this section, look for 'Advanced Options'. Here, you will find an option labeled 'Restrict access to specific emails'. Select 'Yes' to activate this feature. Then, enter the email addresses you wish to grant access to in the 'Email addresses with access' textbox. This will ensure that only the specified email addresses can access the registration.

- Step 2: To finalize and save the changes you've made, make sure to click on the 'Update Information' button.
3. Opening Registration on a Specific Date
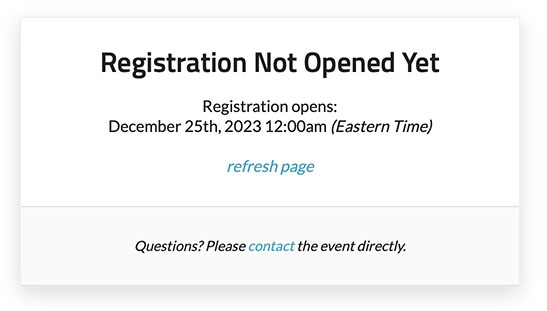
Consider setting up your event or club page in advance, with the option to open registrations only from a specified date. This strategy allows you to begin promoting your event or club early, while controlling the start of the registration process to a later, predetermined date. It's an effective way to build anticipation and manage participant influx.
Setting It Up:
- Step 1: In your event or club settings, navigate to the '04: Payments & Deadlines' section. Once there, look for the option 'Open registration on a specific date', which you can find near the top right of the screen on desktop or at the top on mobile devices. Check the checkbox next to this option. Then, proceed to enter the date and time when you want the registration form to become available.

- Step 2: To finalize and save the changes you've made, make sure to click on the 'Update Information' button.
4. Hiding on Trackie
Sometimes, the best way to control access is by limiting visibility. On Trackie, you have the option to hide your event or club registration form from the public calendar or club page. This method ensures that the form is accessible only to those with the direct link. Alternatively, you might choose to make your event or club's own website the first point of access. This strategy ensures that people discover your registration form on your dedicated site, rather than stumbling upon it directly on Trackie.
Setting It Up:
- Step 1: In your event or club settings, please navigate to the '01: General Information' section. Then, under 'Advanced Options', look for the option labeled 'Hide on Trackie'. Select 'Yes' to activate this feature.

- Step 2: To finalize and save the changes you've made, make sure to click on the 'Update Information' button.
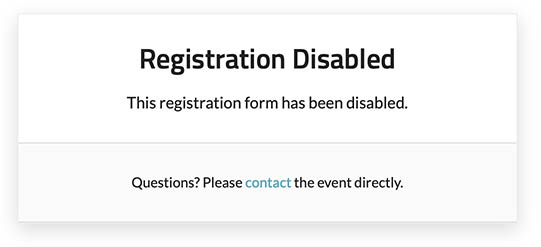
5. Disabling Registration
In certain instances, it may become necessary to either pause or entirely cease registrations. This might be required if your event reaches maximum capacity, especially if you're not utilizing the cap/waitlist feature. Other reasons could include the need for substantial modifications to event details or addressing various logistical issues. By disabling registration, whether temporarily or permanently, you gain complete control over this important facet of your event management.
Setting It Up:
- Step 1: In your event or club settings, proceed to '01: General Information'. Within this section, find the 'Advanced Options'. Look for the 'Disable registration' option and select 'Yes' to activate this setting.

- Step 2: To finalize and save the changes you've made, make sure to click on the 'Update Information' button.
In conclusion, restricting access to your registration form can be a powerful tool in your event/club management arsenal. Whether you're aiming for exclusivity, targeting a specific audience, or simply managing your participant flow better, these settings on Trackie offer you the flexibility and control you need. Beyond basic access controls, consider implementing other forms of registration restrictions such as setting age limits for registrants, enforcing registration deadlines, restricting registration to specific teams, and establishing caps on the number of participants. These additional measures can help tailor your event more precisely to your desired audience and logistical needs. Remember, the key is to balance accessibility with control to ensure the success of your event or club. Happy organizing!
If you have any questions, please feel free to contact us at support@trackie.com.