In this edition of Wisdom Wednesday, we're going to explore 10 features that might be new to you. From small tweaks to major time-savers, our journey will cover a range of functionalities within our system. We're confident that everyone will learn something new! Join us to discover these features and elevate your efficiency, harnessing the full potential of what our system has to offer.
1. Filtering Magic: Adding "Commas" Between Searches
Did you know that by inserting commas between search terms within a single search box, you can efficiently find multiple registrant data in just one step? This simple yet effective method streamlines your search process, enabling you to effortlessly access a variety of information from your registrant list quickly and accurately.
2. Combining Registration Lists For Joint Functionality
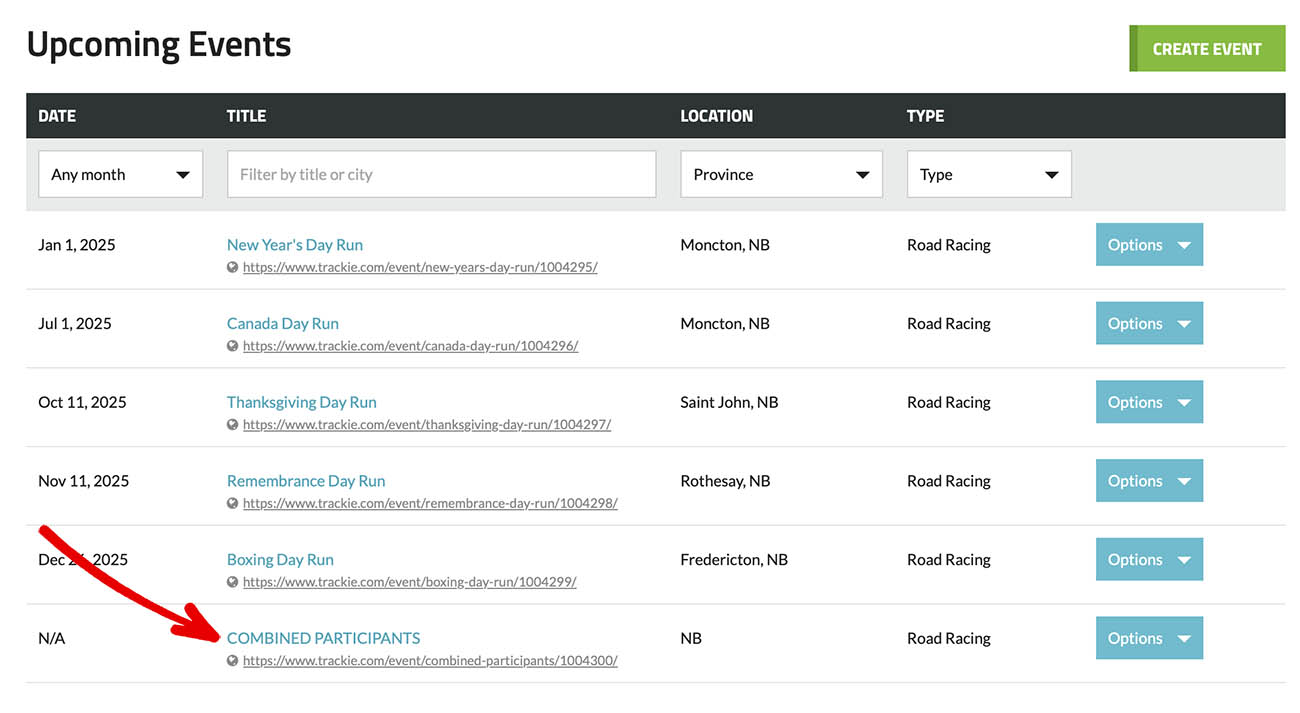
We provide the ability to merge different registrant lists together. This allows you to perform tasks across all of them at once. For instance, if you've organized five different events using our system and want to email all the registrants from these events, there's no need to send separate emails from each event page. Instead, you can combine the registrant lists from all five events into one. This approach enables you to send a single email to all attendees of your events, saving time and effort.
Setting It Up:
- Step 1: Create a new page under 'My Members' or 'My Events'.
- Step 2: In the '01: General Information' section, navigate to the 'Advanced Options'. Here, you will find an option labeled 'Combine entry list with other pages'. Click on this box and then select all the pages whose entry lists you wish to combine.
- Step 3: Navigate through and finalize all the settings for your new page. Although the precise details of these settings are not important, assigning a unique title to the page is essential. A distinctive title will enable you to quickly recognize this new joint registrant list page amidst your other pages.
3. Labeling Mastery
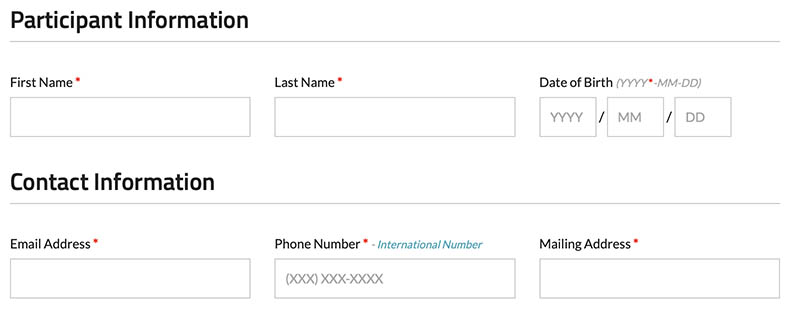
Improve the layout and clarity of your registration forms by incorporating labels. These labels assist in dividing the form into sections, such as 'Participant Information' and 'Contact Information' in the example below.
Setting It Up:
- Step 1: In the '01: General Information' section, navigate to the Manage Questions section.
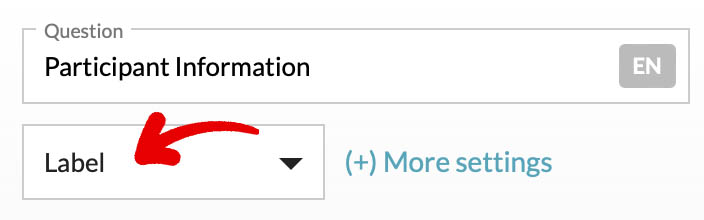
- Step 2: Add a new question and set the 'Type' to 'Label'.
4. Setting Question Widths
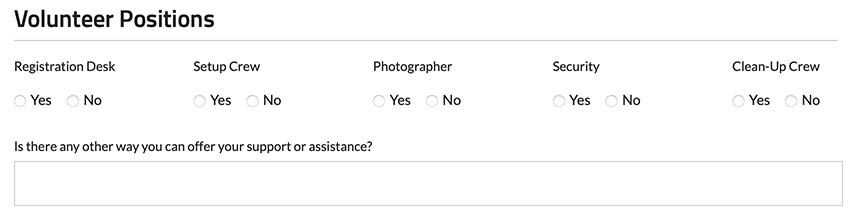
The customizable question width goes beyond enhancing visual appeal; it provides a dynamic tool for tailoring your data entry experience based on specific needs. This flexibility allows you to adjust the width of questions as per your preferences, offering a personalized and user-friendly interface for your registrants. For instance, in the example below, we adjusted the width of the 5 volunteer positions to 20% each, while setting the width of the multi-line textbox to 100%, optimizing the layout for clarity and ease of use.
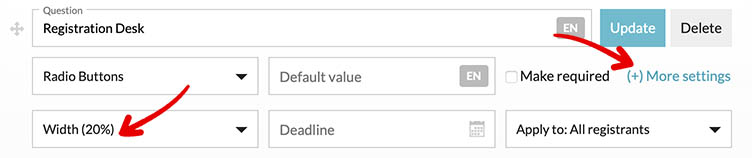
Setting It Up:
- Step 1: In the '01: General Information' section, navigate to the Manage Questions section.
- Step 2: To adjust the question width within a specific question, click on '(+) More settings' and then select the option to set the question width.
5. Dynamic Visibility
Customize the user experience by showing questions based on answers to other question or specific categories. This feature allows for dynamic content presentation, catering to individual preferences and responses.
Setting It Up:
- Step 1: In the '01: General Information' section, navigate to the Manage Questions section.
- Step 2: Add a new question and check 'Show/hide based on other question' under '(+) More settings'.

Alternatively, you can assign questions to specific categories or divisions you've set up. To do this, click on '(+) More settings' and then select a different option from the 'Apply to: All registrants' dropdown menu. For instance, to ensure that only participants under 19 years old see the 'Parent/Guardian' questions.
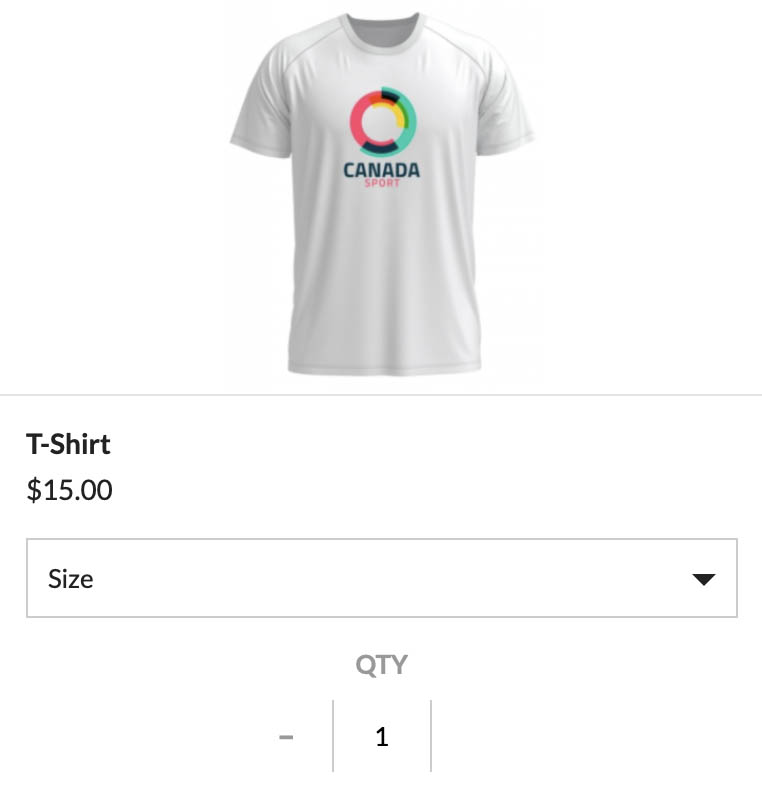
6. Purchase Control: Min/Max Quantity For Additional Purchases
To ensure proper management of additional purchases, you can establish minimum and maximum quantity limits for each registrant. This functionality is beneficial for controlling the quantity of purchases by any single registrant, preventing excessive buying. For instance, as demonstrated in the example below, it restricts registrants to a maximum of one T-shirt purchase each.
Setting It Up:
- Step 1: In the '01: General Information' section, navigate to the Additional Purchases section.
- Step 2: Add a new item, then under 'Other Settings' choose a default quantity, minimum quantity, and maximum quantity.

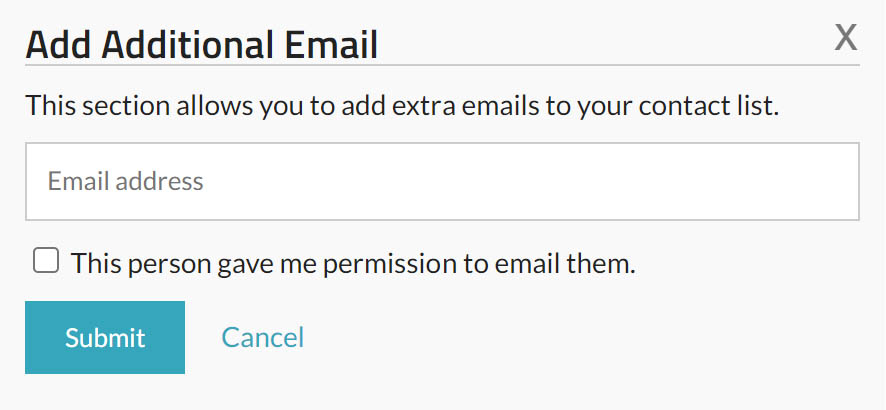
7. Adding Non-Registrants To Your Email List
Easily add non-registrants, such as members' parents, to your email list for broader communication.
Setting It Up:
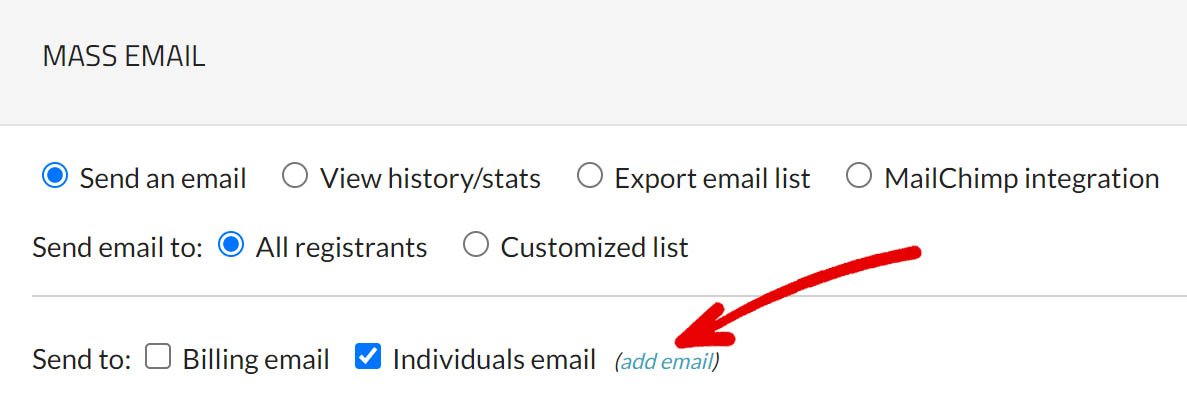
- Step 1: Navigate to the Mass Email section of your page.
- Step 2: Click on the 'Add email' link.
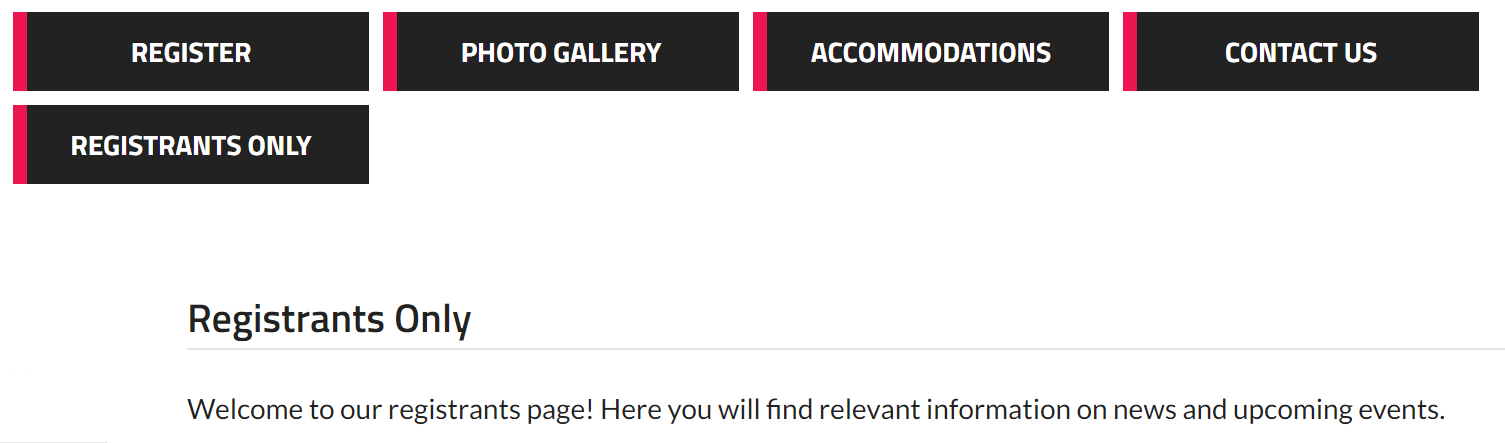
8. Registrant Pages Only
Enhance your club's webpage by creating special 'members only' sections, which are exclusively accessible to registered members.
Setting It Up:
- Step 1: Visit your clubs webpage.
- Step 2: Navigate to the Additional Content section.
- Step 3: Click on 'Add Content' and check off the 'Registrant access only' checkbox next to the 'Update' button.

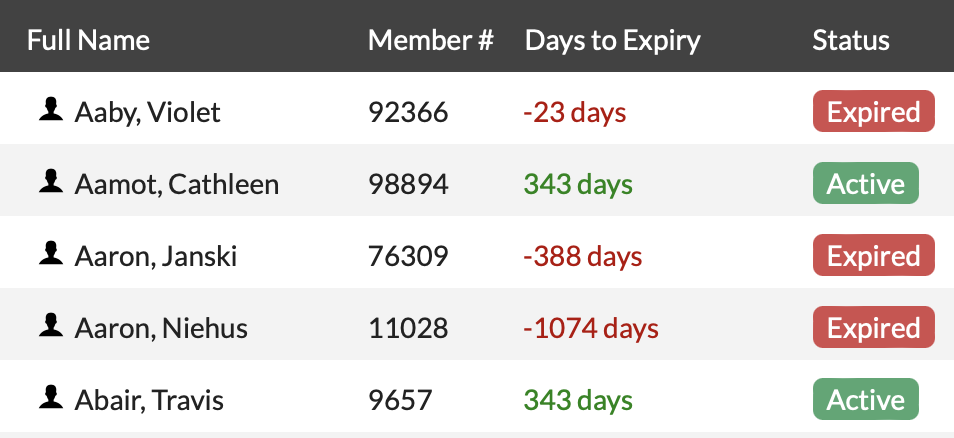
9. Seasonal Membership Types
Harness the potential of seasonal membership types within your club or organization. Enable seasonal memberships to effortlessly associate expiry dates with memberships, send timely renewal notices, and leverage the advantages of rolling year features.
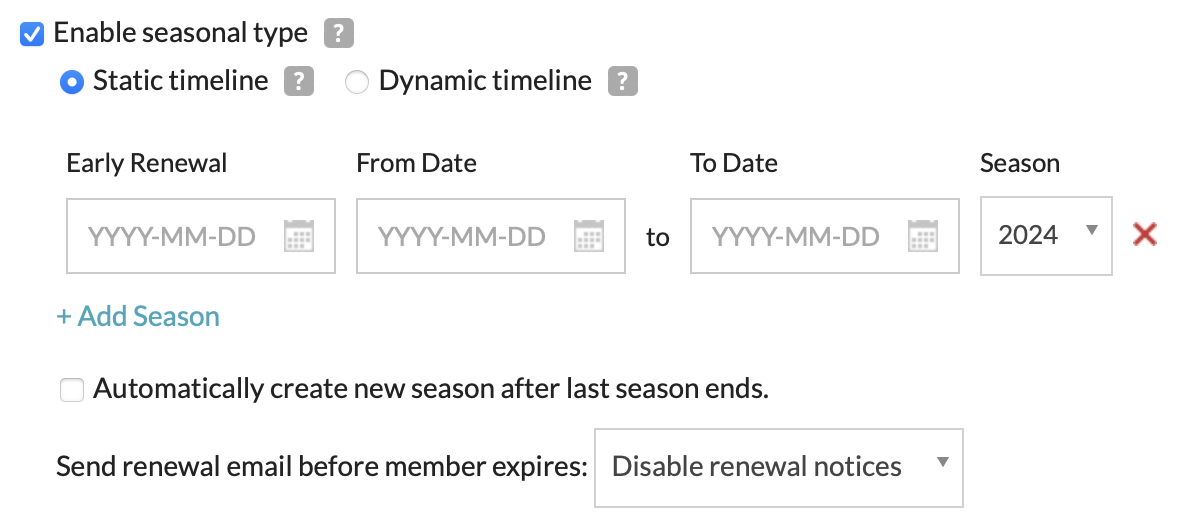
Setting It Up:
- Step 1: Navigate to 03: Membership Types section of your club settings.
- Step 2: Click the 'gear'
icon located to the right of the desired membership type.
- Step 3: To make it seasonal under the 'General Settings' tab of the popup, check the 'Enable seasonal type' checkbox.
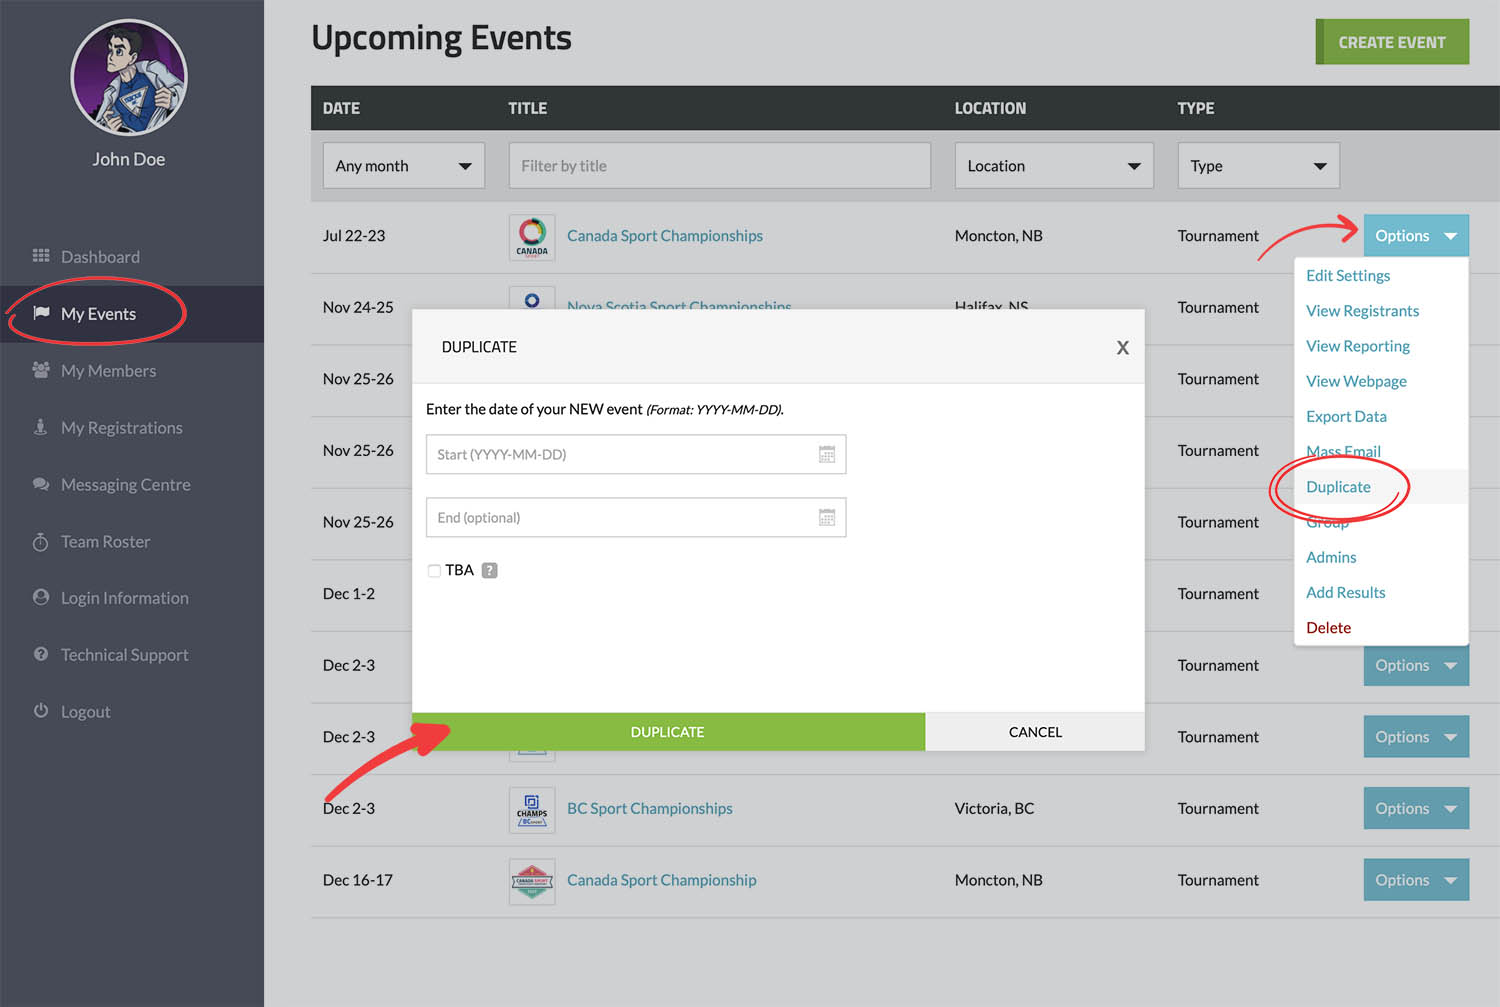
10. Duplicate Page
Save time and effort by duplicating pages effortlessly. This feature allows for the quick replication of content, maintaining consistency across your digital platforms.
We hope you find these hidden features helpful. For more insightful tips, be sure to explore our other Wisdom Wednesday articles.
If you have any questions, please feel free to contact us at support@trackie.com.