| GENERAL SETTINGS |
|---|
|
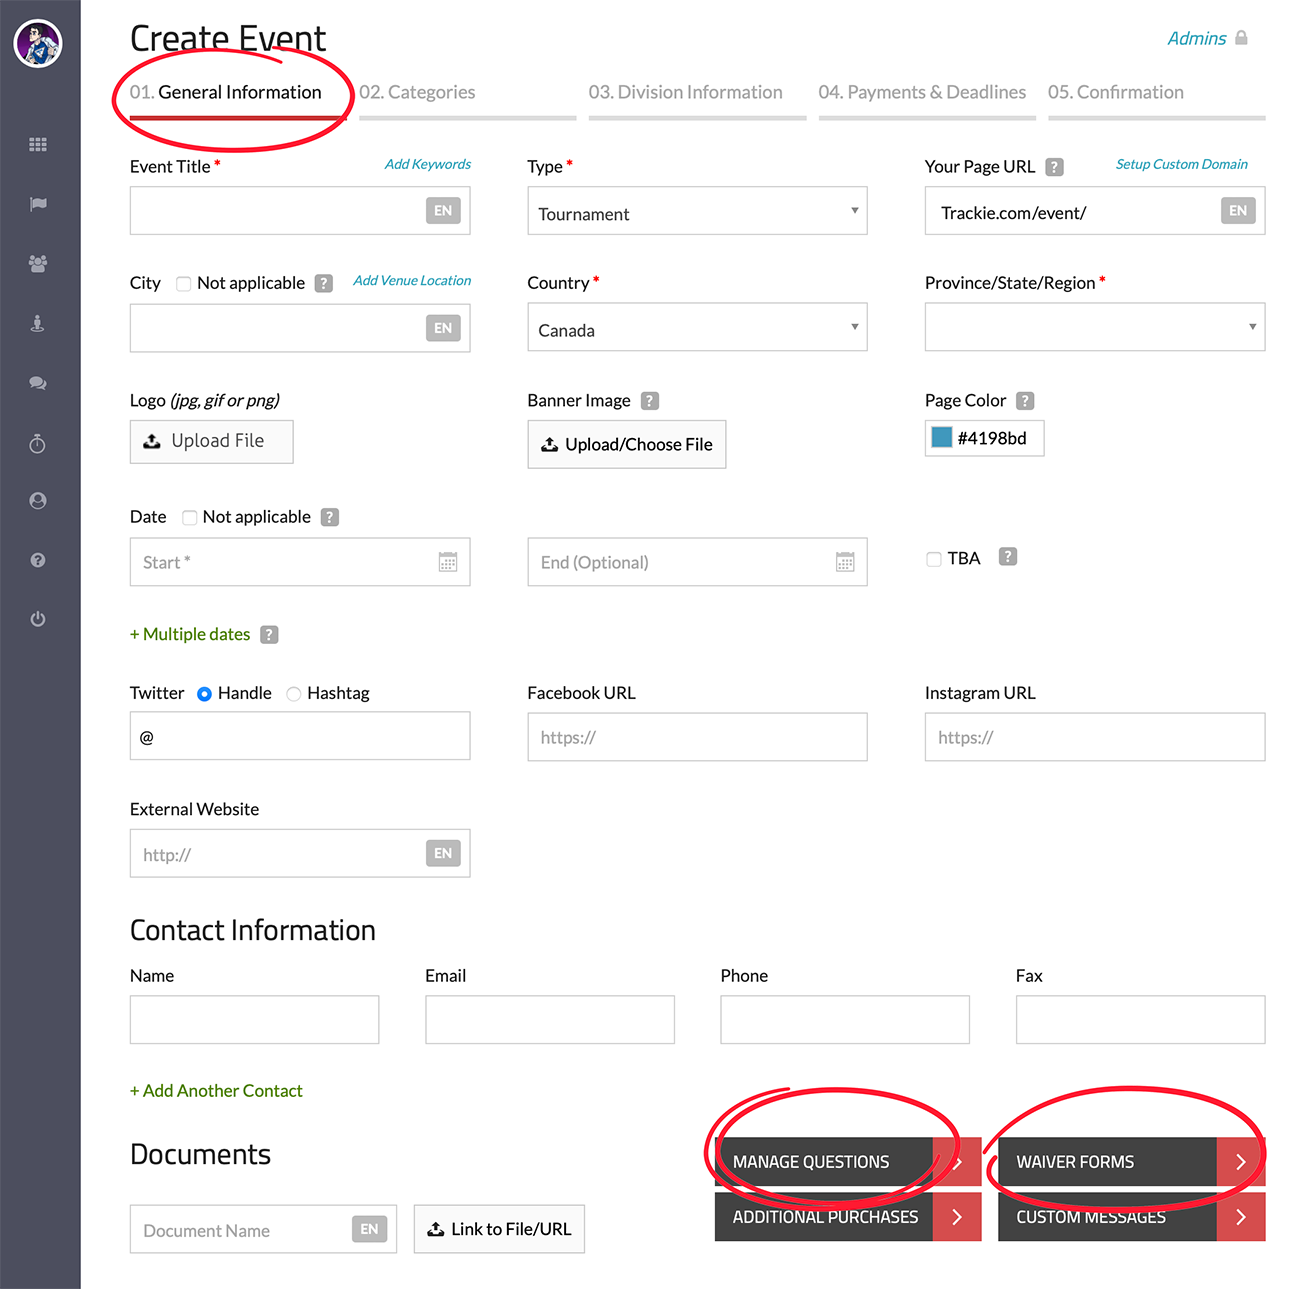
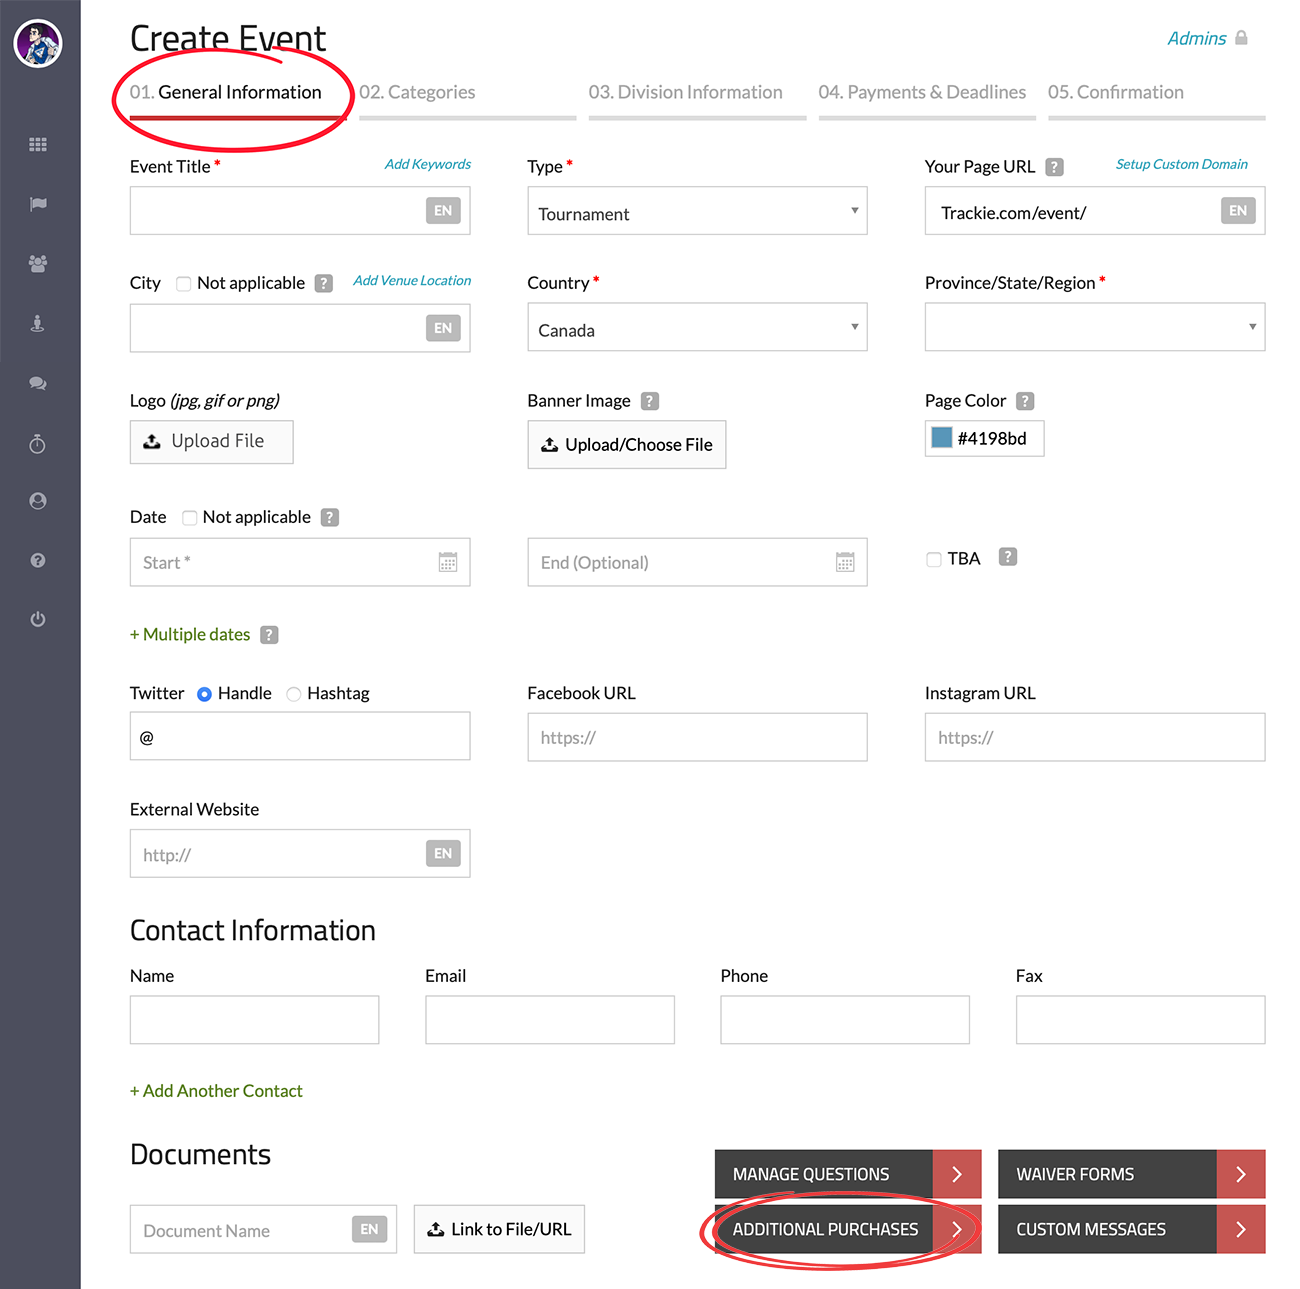
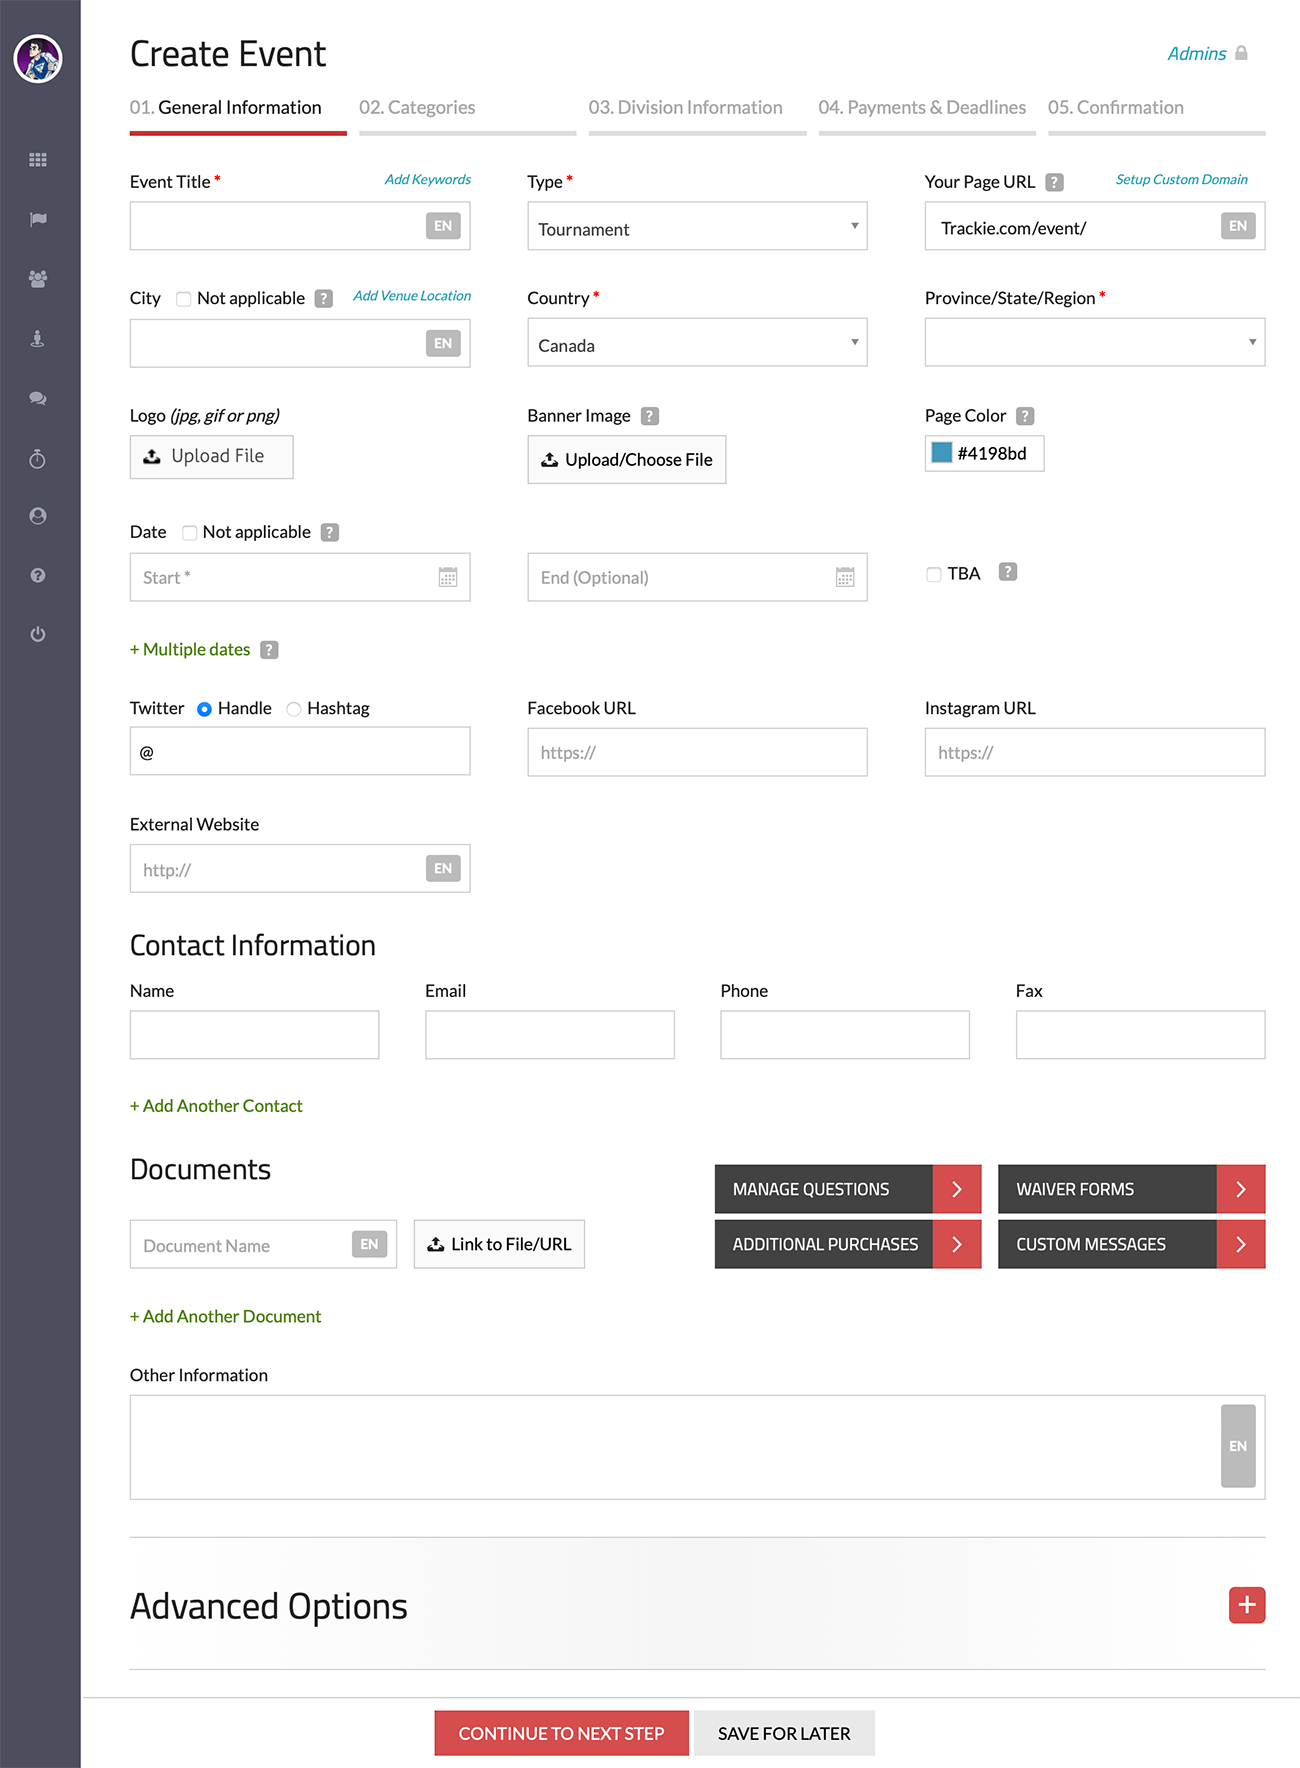
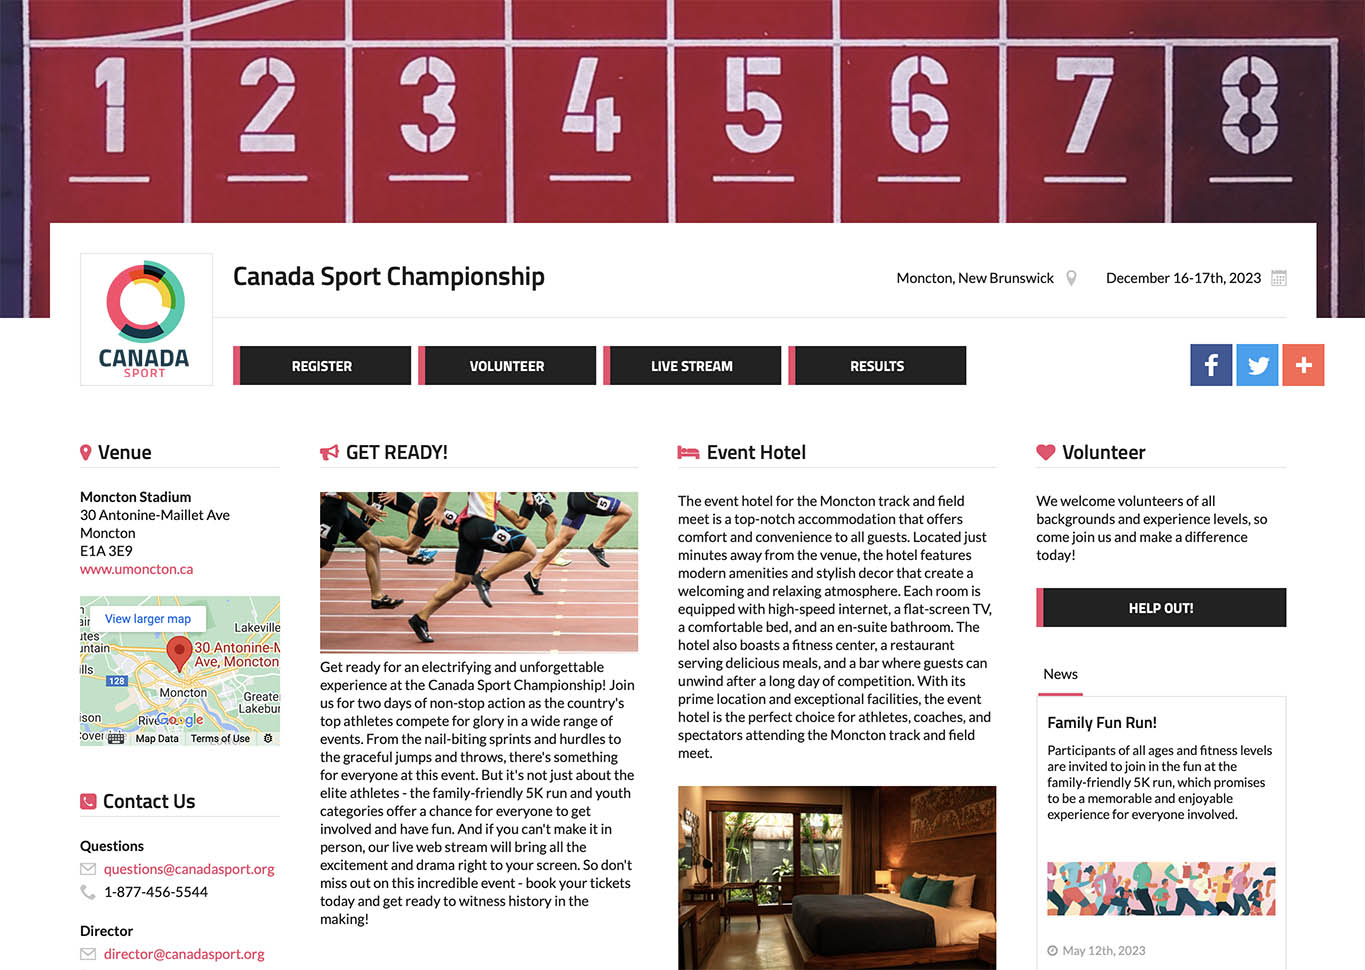
Event Title
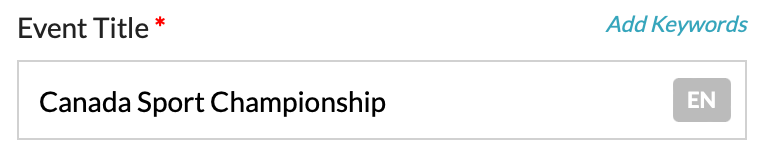
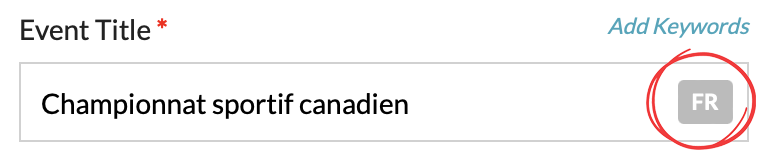
Your "Event Title" refers to the official name of your event, such as "Canada Sport Championship." For input fields that allow bilingual inputs (French/English), you'll notice an EN/FR toggle button that lets you enter both versions. Even if you don't have a French version, the system will still display the English version for anyone viewing your page. |
|
Add Keywords
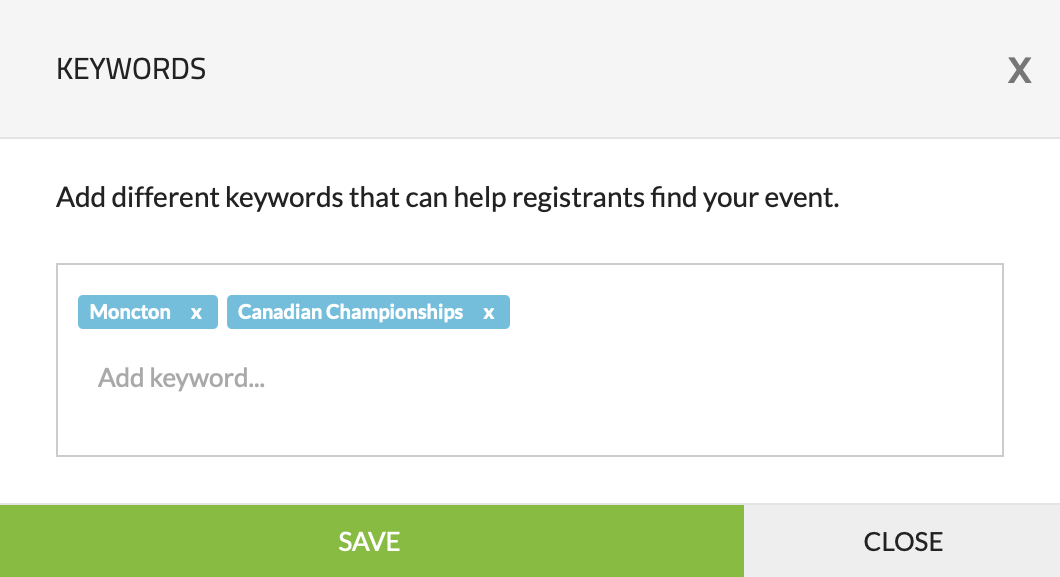
To access the "Add Keywords" pop-up, click the link to the right of the "Event Title". This feature allows you to include various keywords or phrases that you believe would assist individuals in discovering your event on our "Calendar." |
|
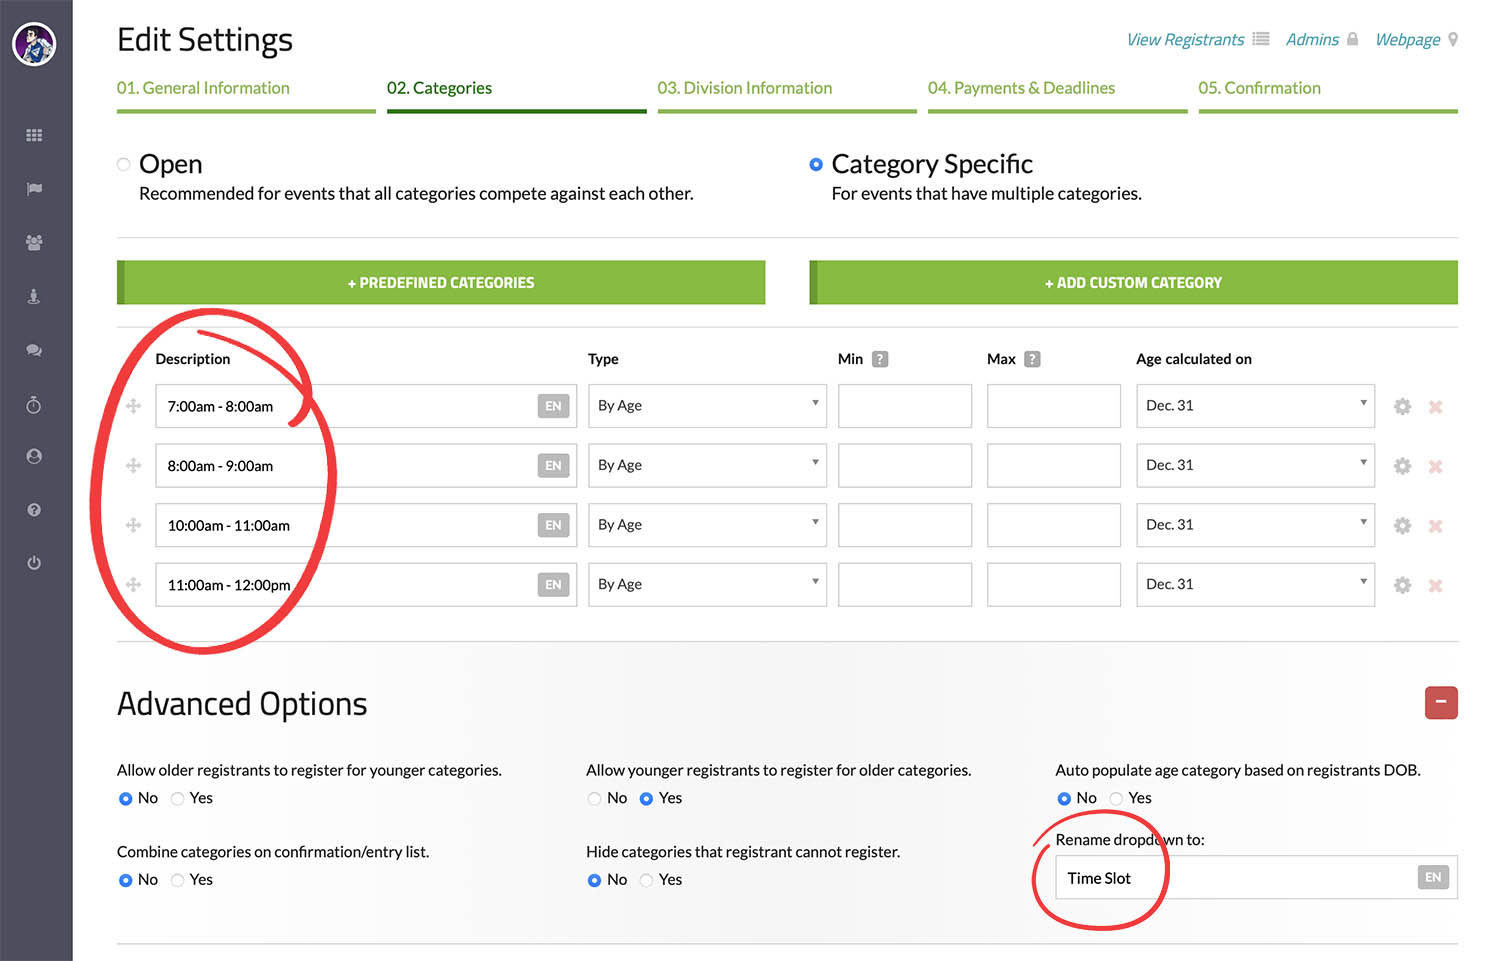
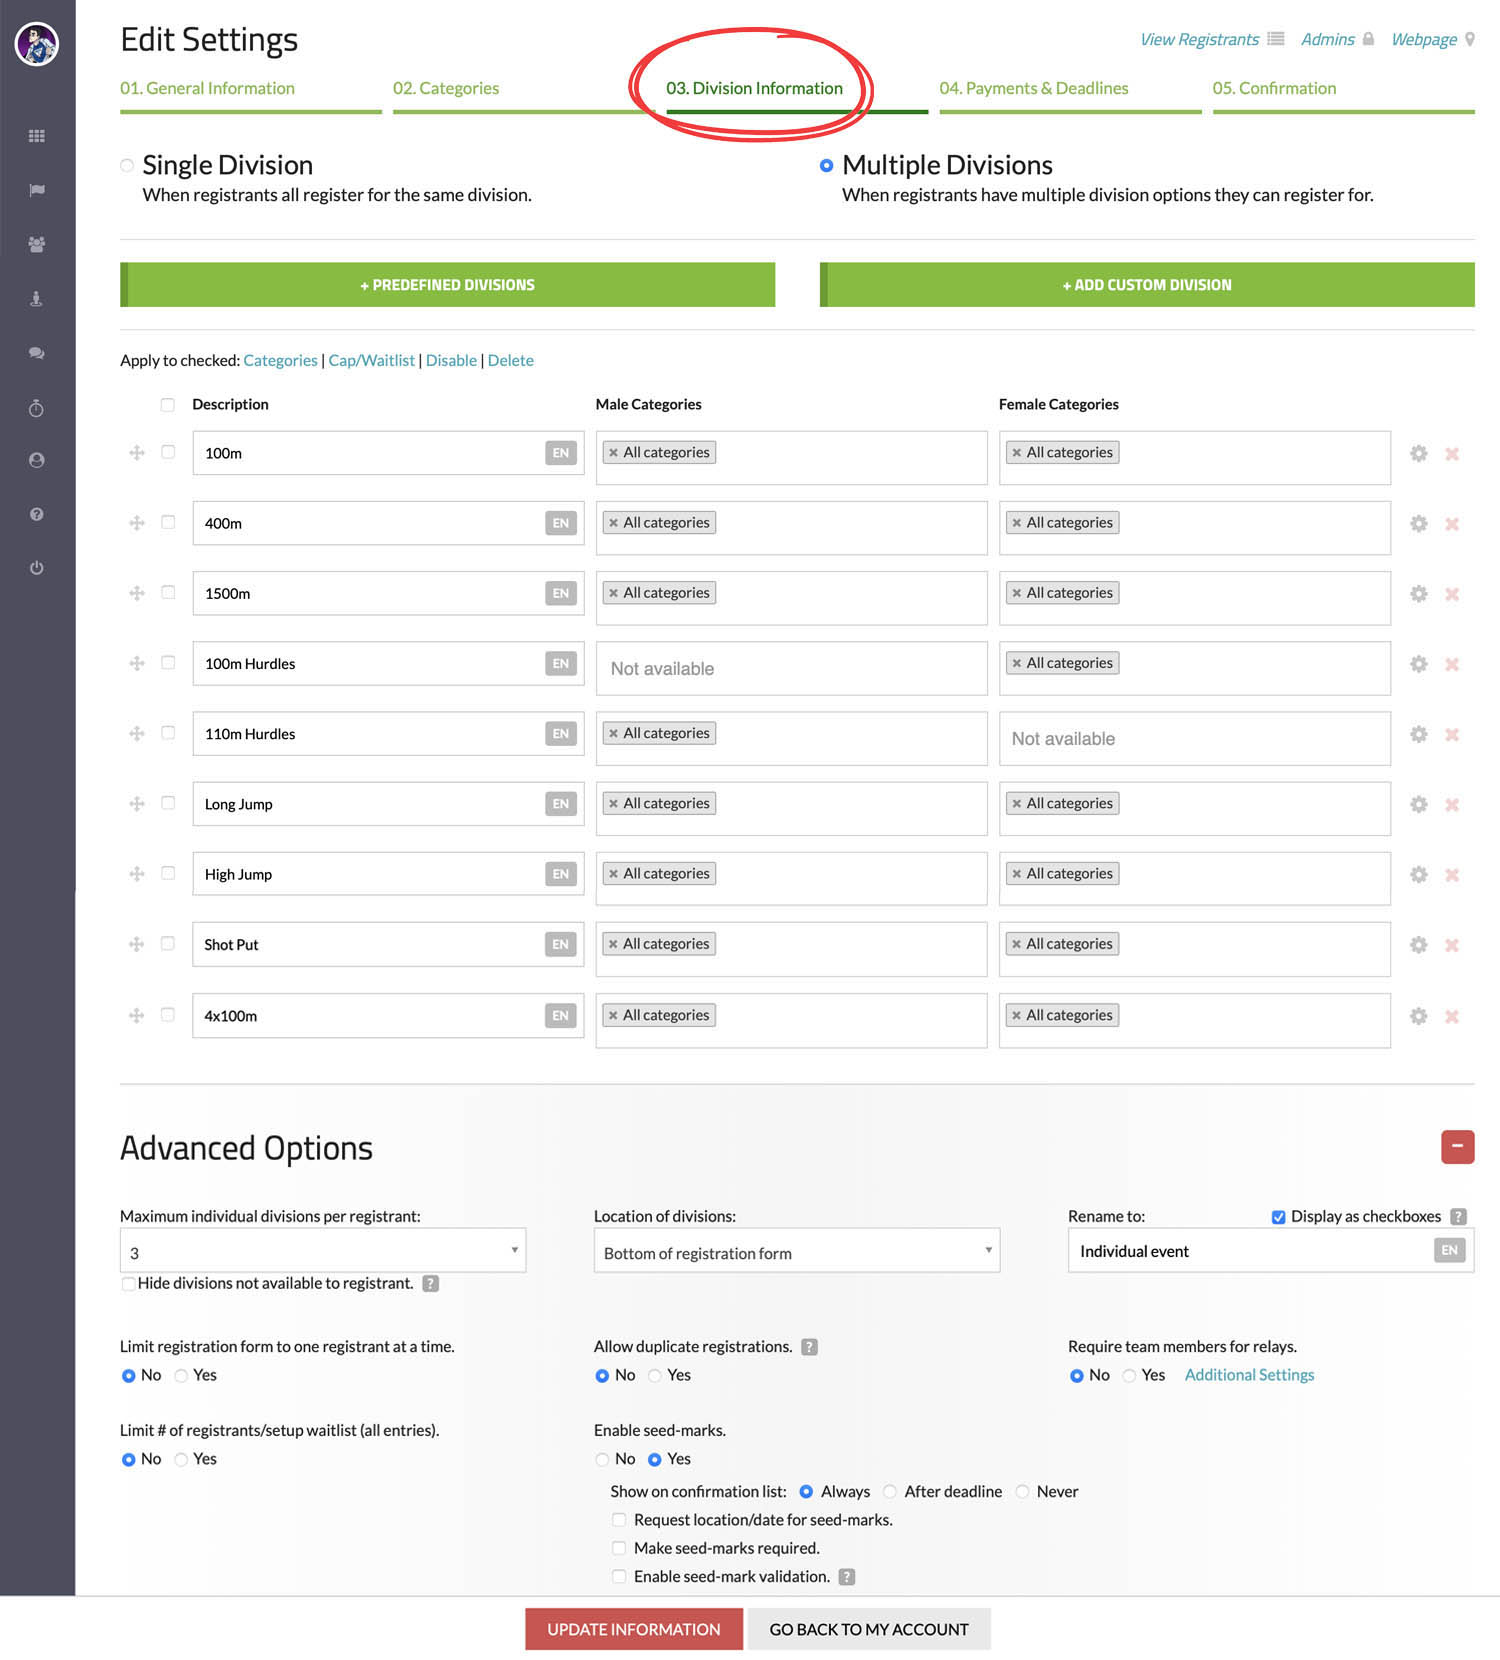
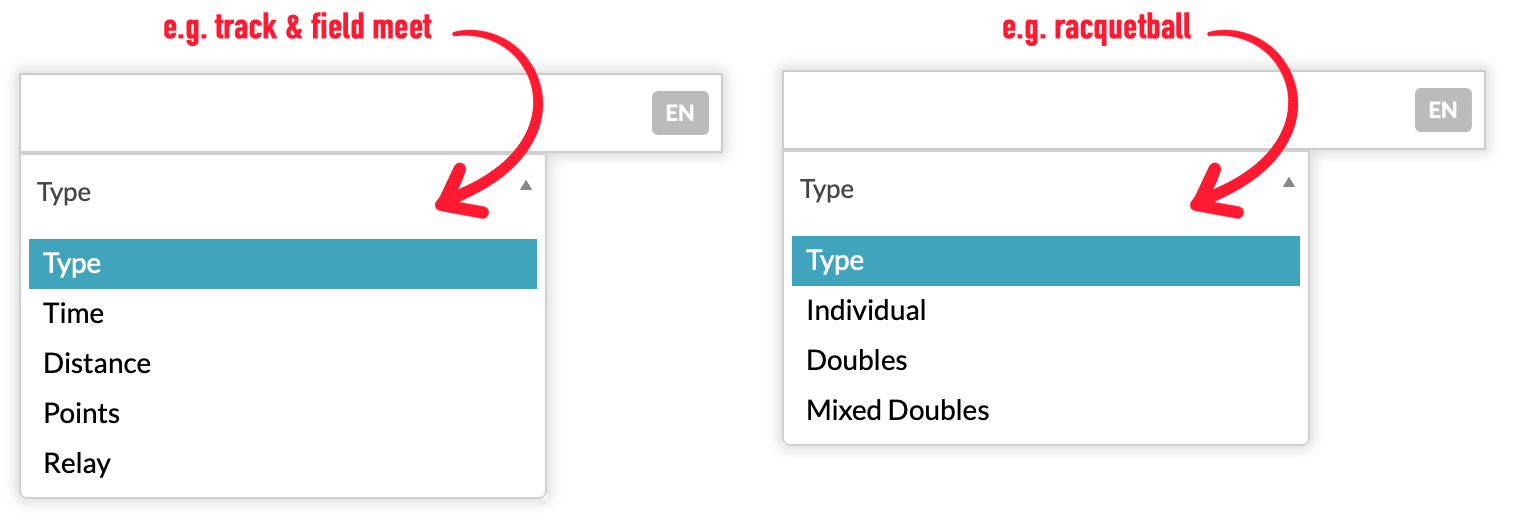
Type
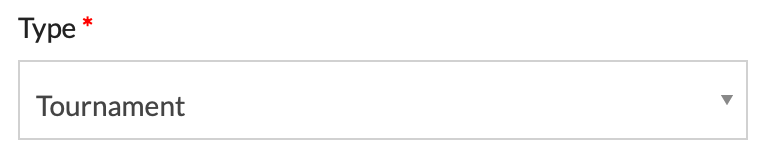
Each type has identical functionality, except for the "Products/Tickets" type, which eliminates the "02. Categories" and "03. Division Information" steps. These various types are primarily available to assist you in organizing your events on our Calendar and in your "My Events" area.
|
|
Your Page URL
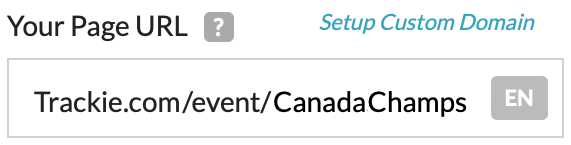

Your Page URL refers to the website address that you can promote to make your page discoverable to others. To redirect your own custom domain to your Trackie page, simply click on the "Setup Custom Domain" link. |
|
City
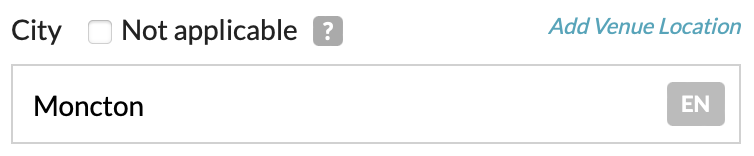
Allows you to indicate the city where your event is being held. If this is not applicable (e.g. for an online webinar), select "Not Applicable".
|
|
Add Venue Location
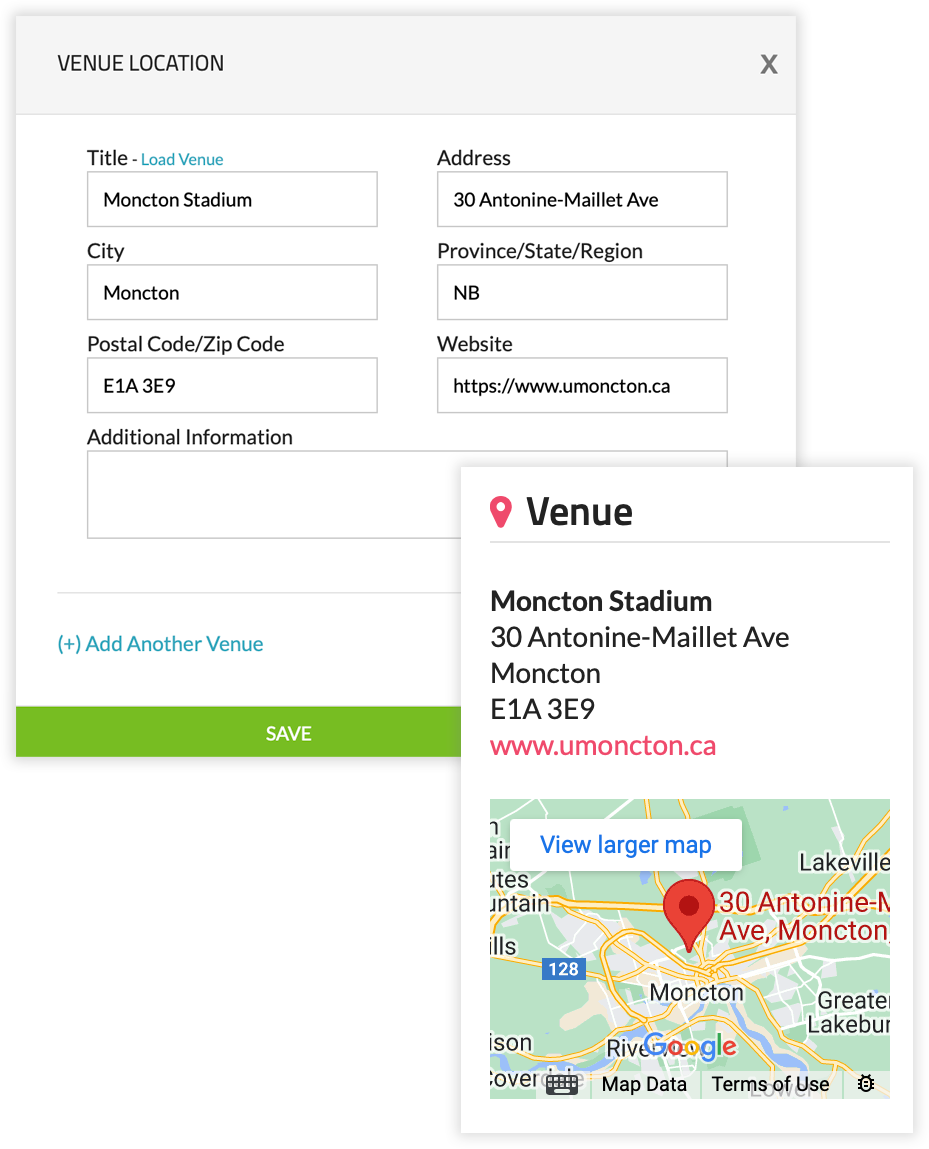
To access the "Add Venue Location" pop-up, click the link to the right of the "City". By adding the address(es) of the venue(s) where your event is taking place, you can create an interactive map on your event webpage. |
|
Country
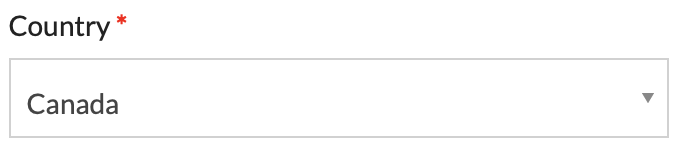
Allows you to indicate the country where your event is being held.
|
|
Province/State/Region

Allows you to indicate the province/state/region where your event is being held. If this setting does not apply (e.g. an online seminar), you can select "Other" and enter the appropriate option, such as "Online". |
|
Logo
You can upload your own event logo, which will be showcased on your event webpage, registration forms, and other relevant locations.
|
|
Banner Image
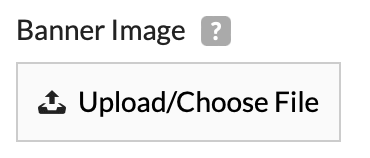
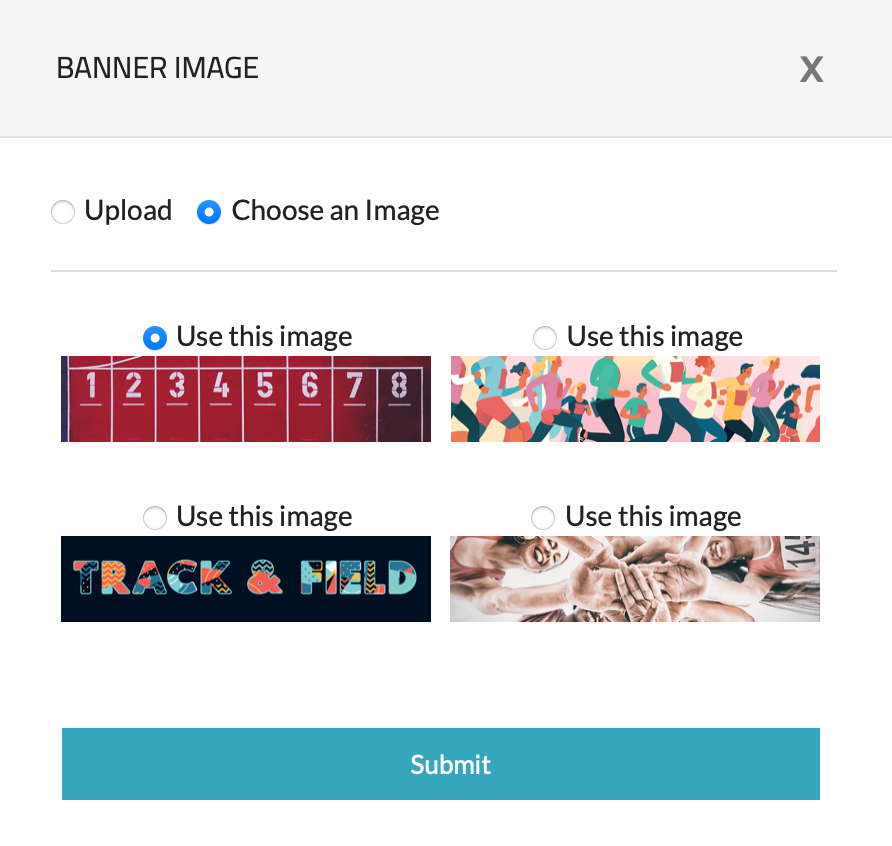
You have the option to upload your own banner images or select one of our stock banner images, which will be displayed on your event webpage.
|
|
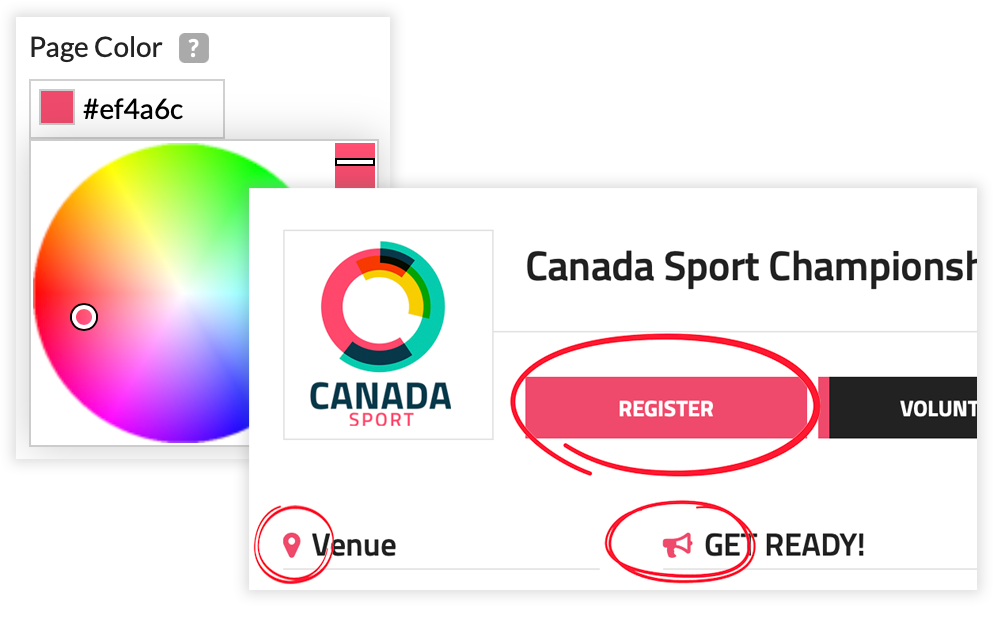
Page Color
You can choose the color that best represents your event, which will be utilized for various elements on your event webpage, such as buttons and icons.
|
|
Date
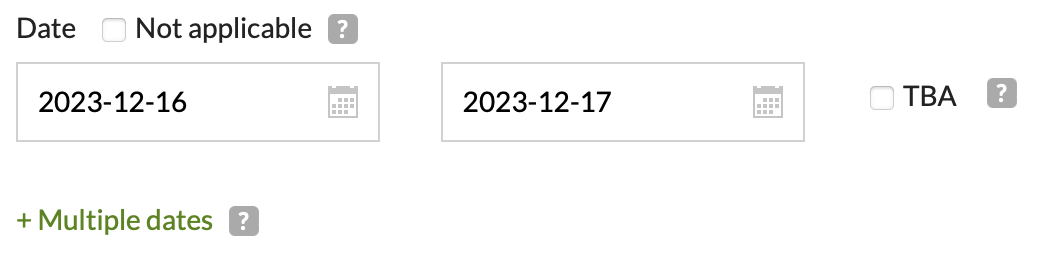
Allows you to specify the date(s) on which your event will occur. If you're unsure of the date, you can use the "TBA" checkbox. If a date is not applicable to your event, select the "Not Applicable" checkbox. The option labeled "+ Multiple dates" is solely for visual purposes. This option does not give registrants the ability to register for each date separately. |
|
Twitter/Facebook

Provides the ability to incorporate social media widgets into your event webpage.
|
|
External Website
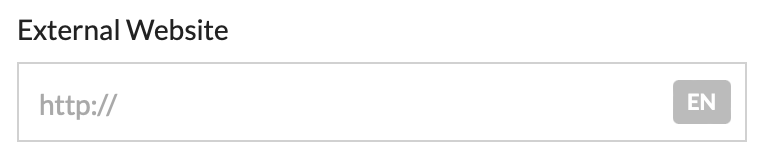
If you have an existing external website, you can link it to your event webpage.
|
|
Contact Information
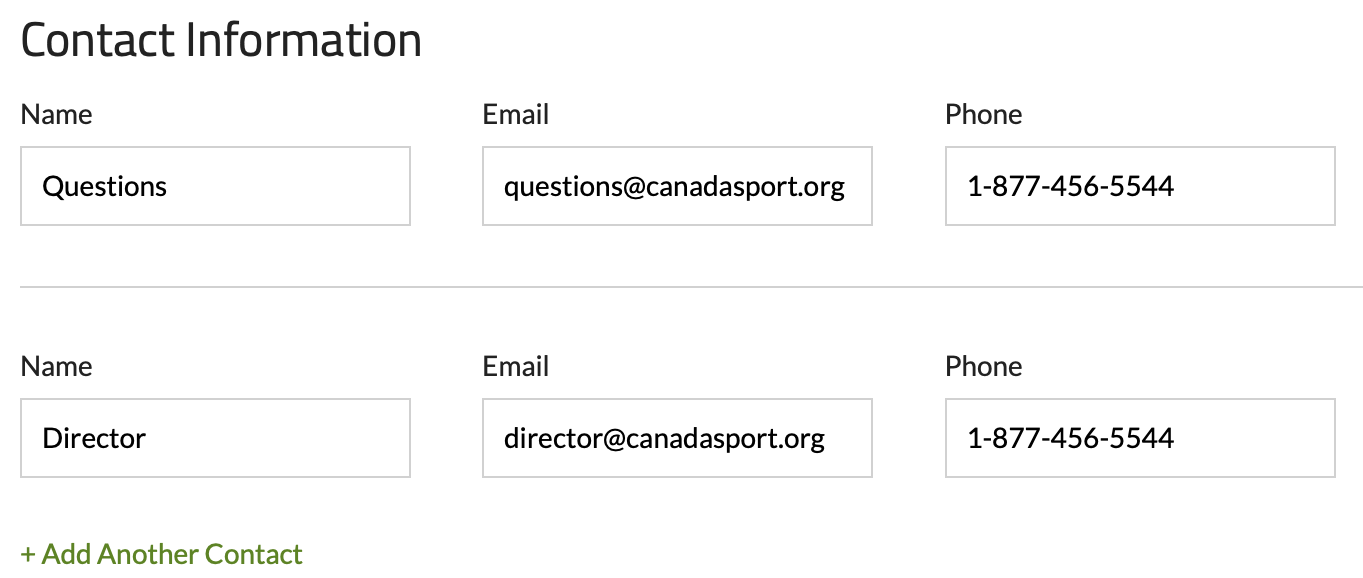
You can enter all relevant contact information for your event, enabling registrants to discover who to contact if they have any specific questions.
|
|
Documents
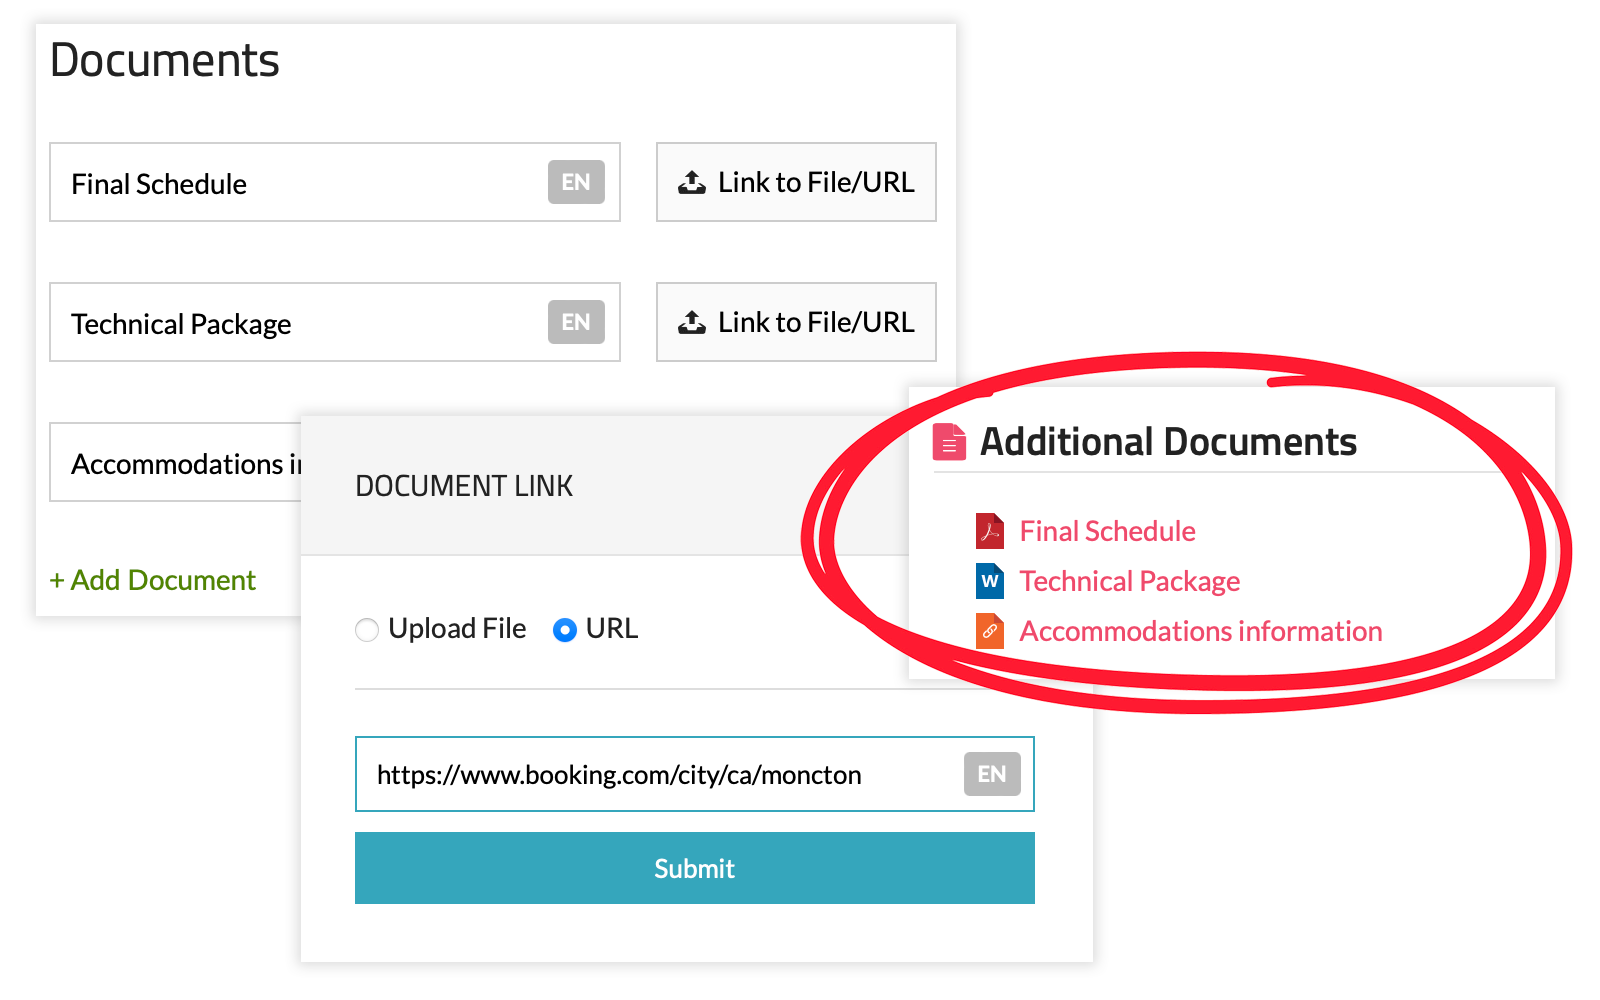
You have the ability to upload various documents or link to external websites that may be beneficial for your participants to obtain additional information about your event. Once you add extra documents, they will appear on your event webpage in a similar layout to the image shown. |
|
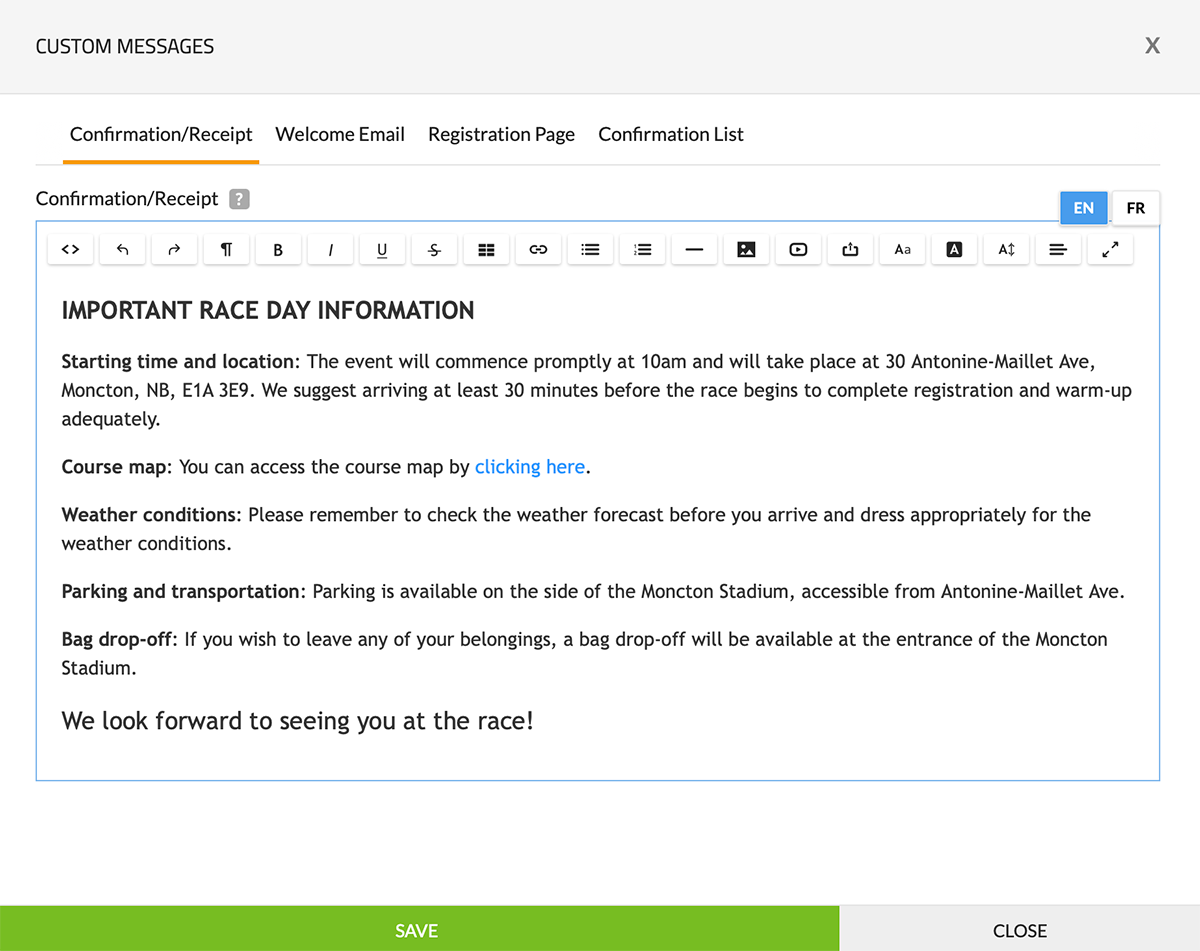
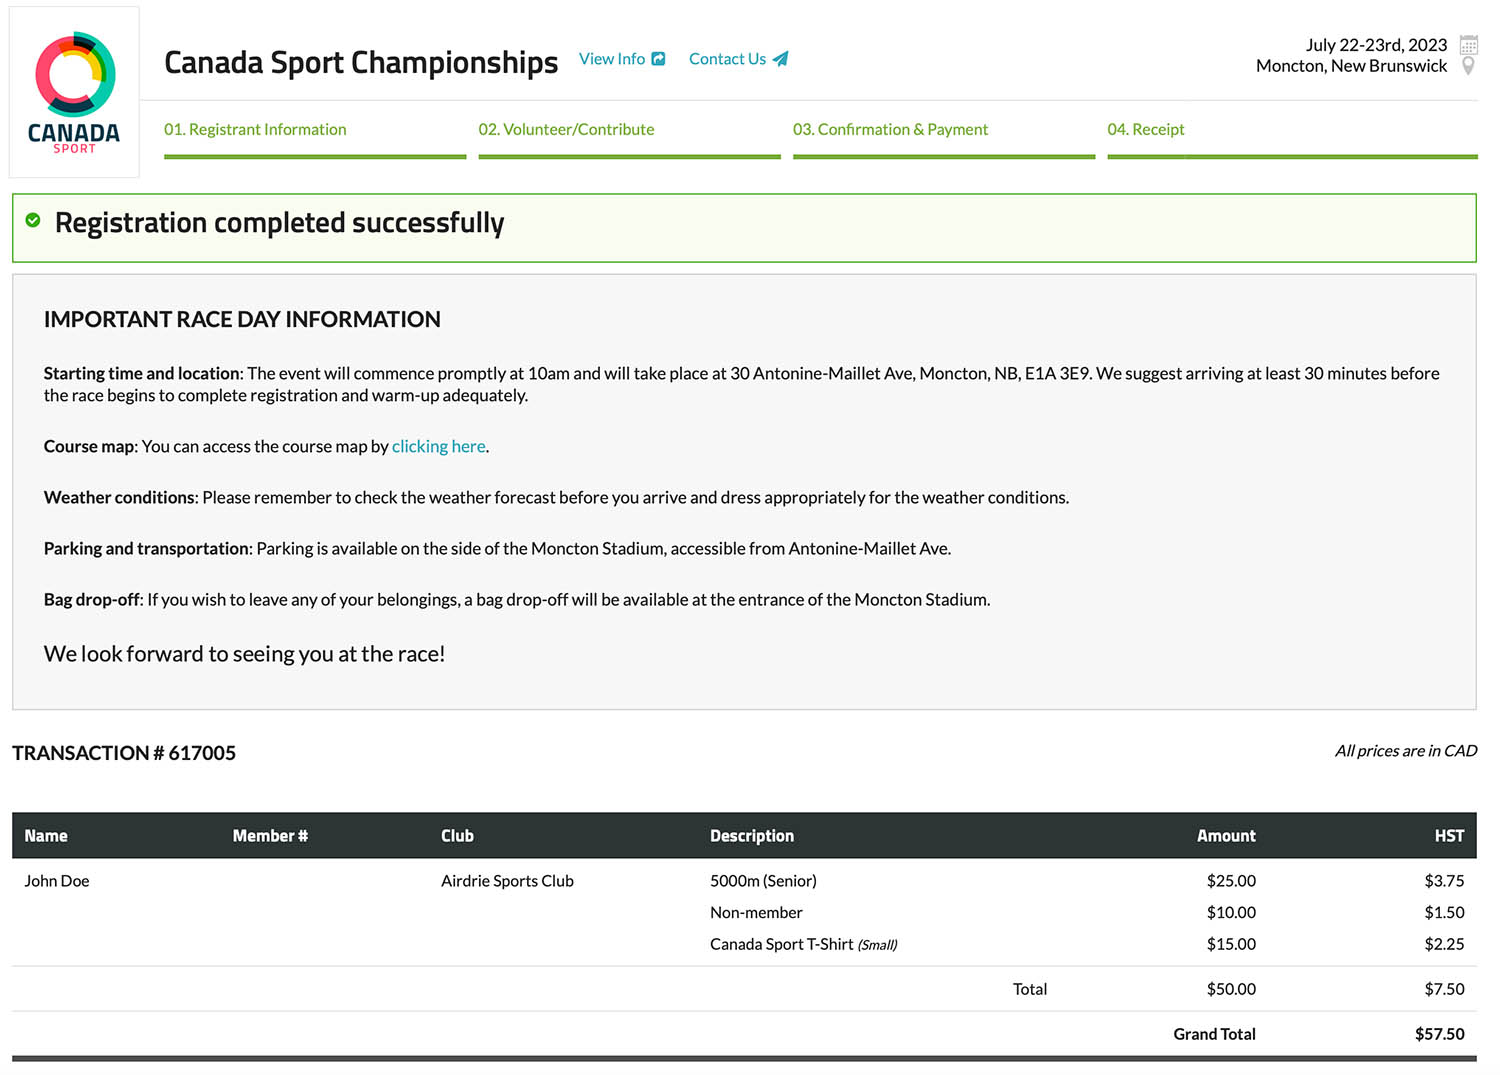
Other Information

You are provided with an open textbox, where you can include any additional information about your event that you believe will be beneficial to your registrants.
|

As these functionalities are more comprehensive, they have been given their own section in the Knowledge Base where you can learn how they work.
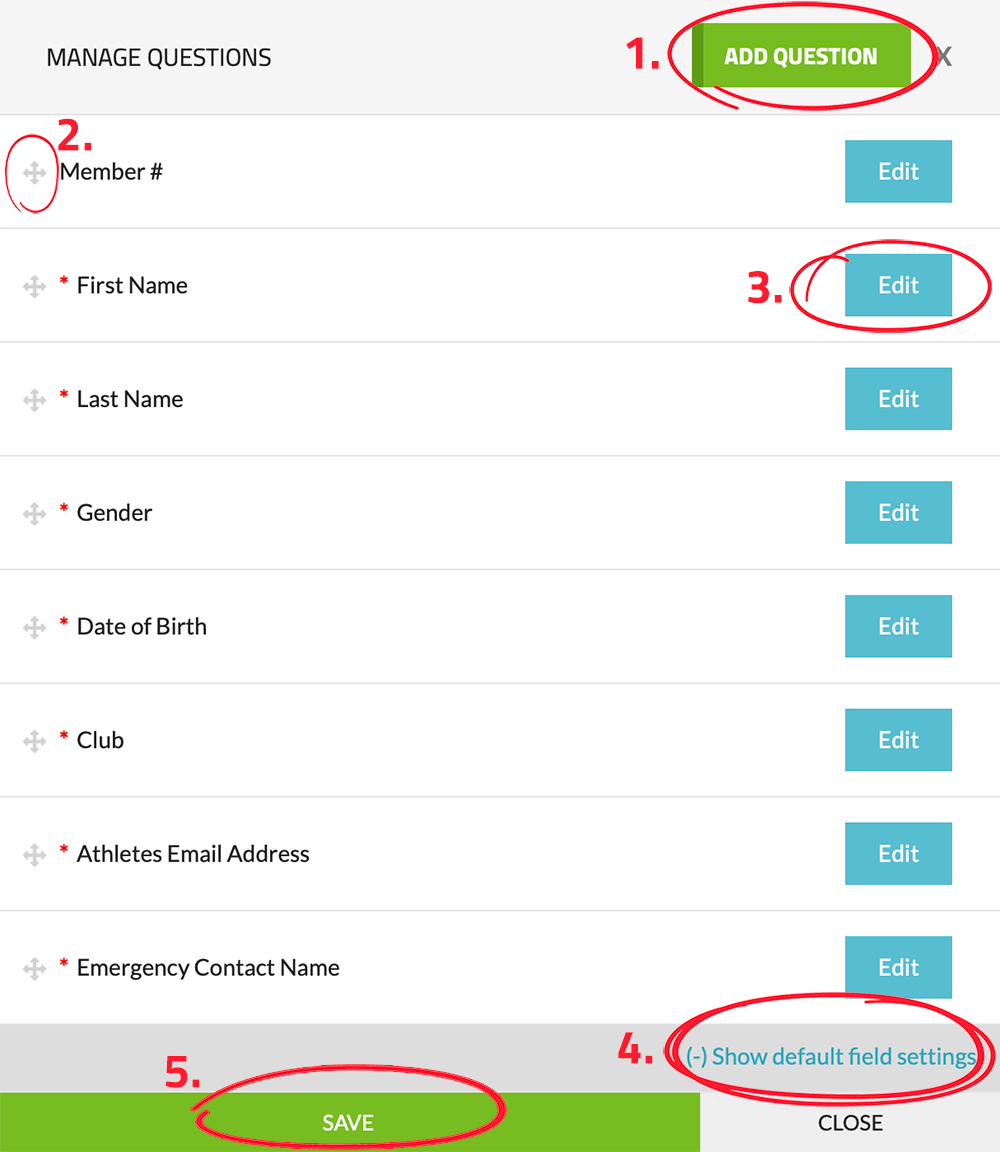
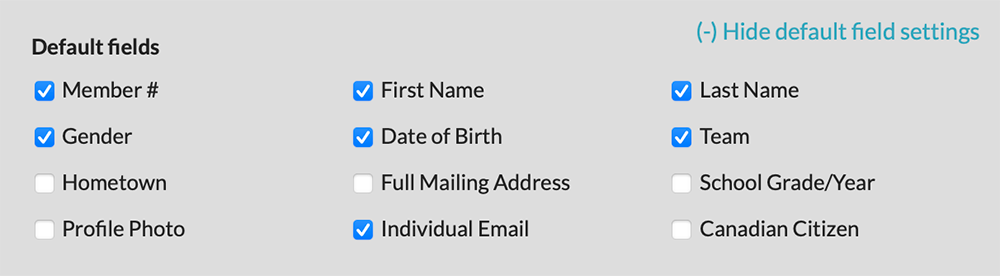
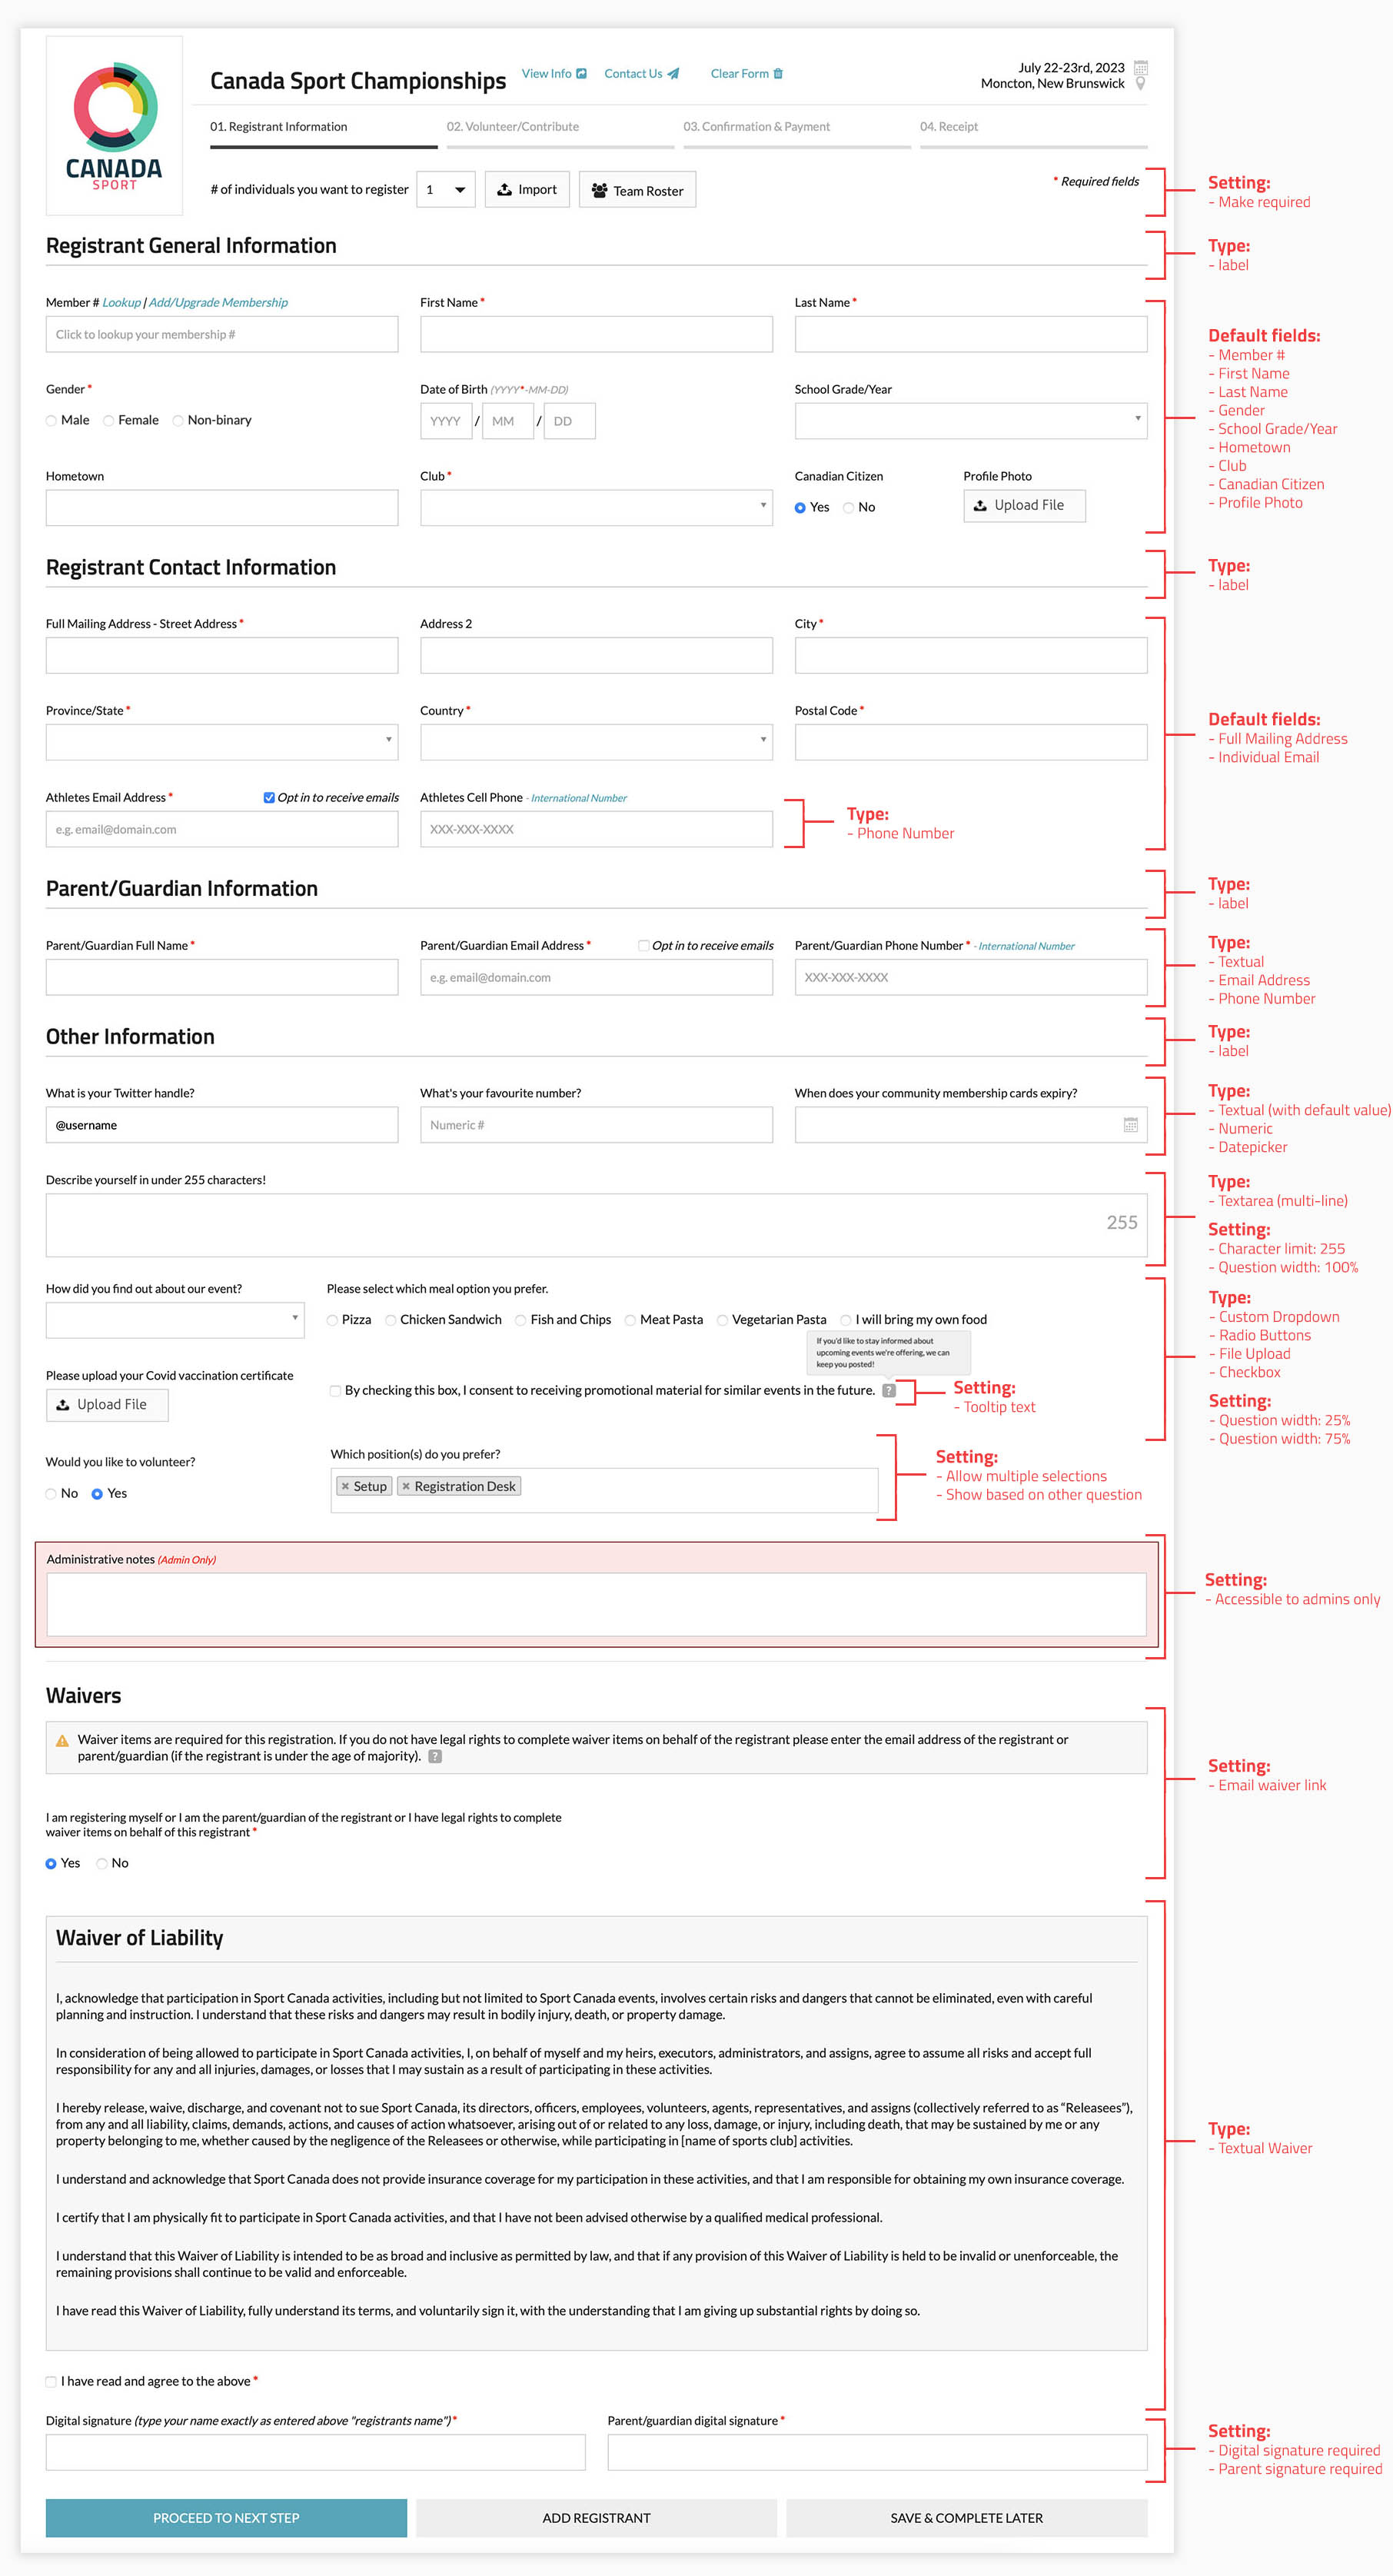
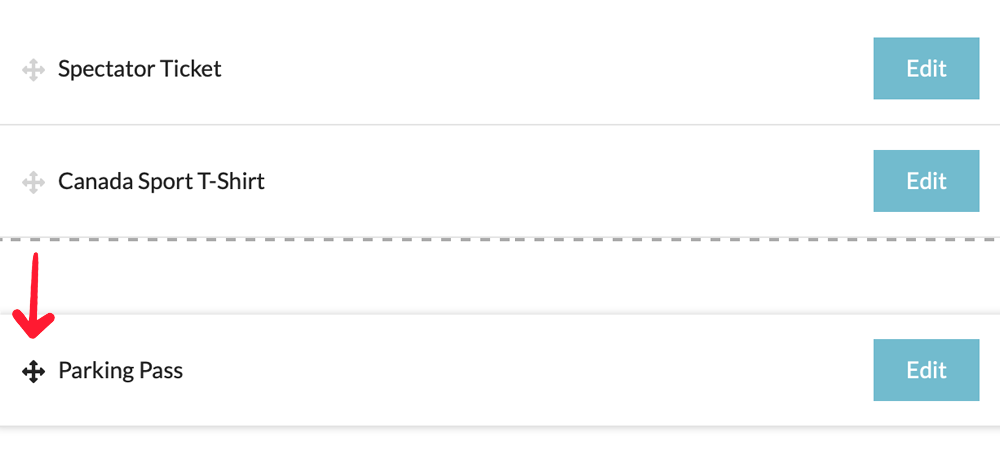
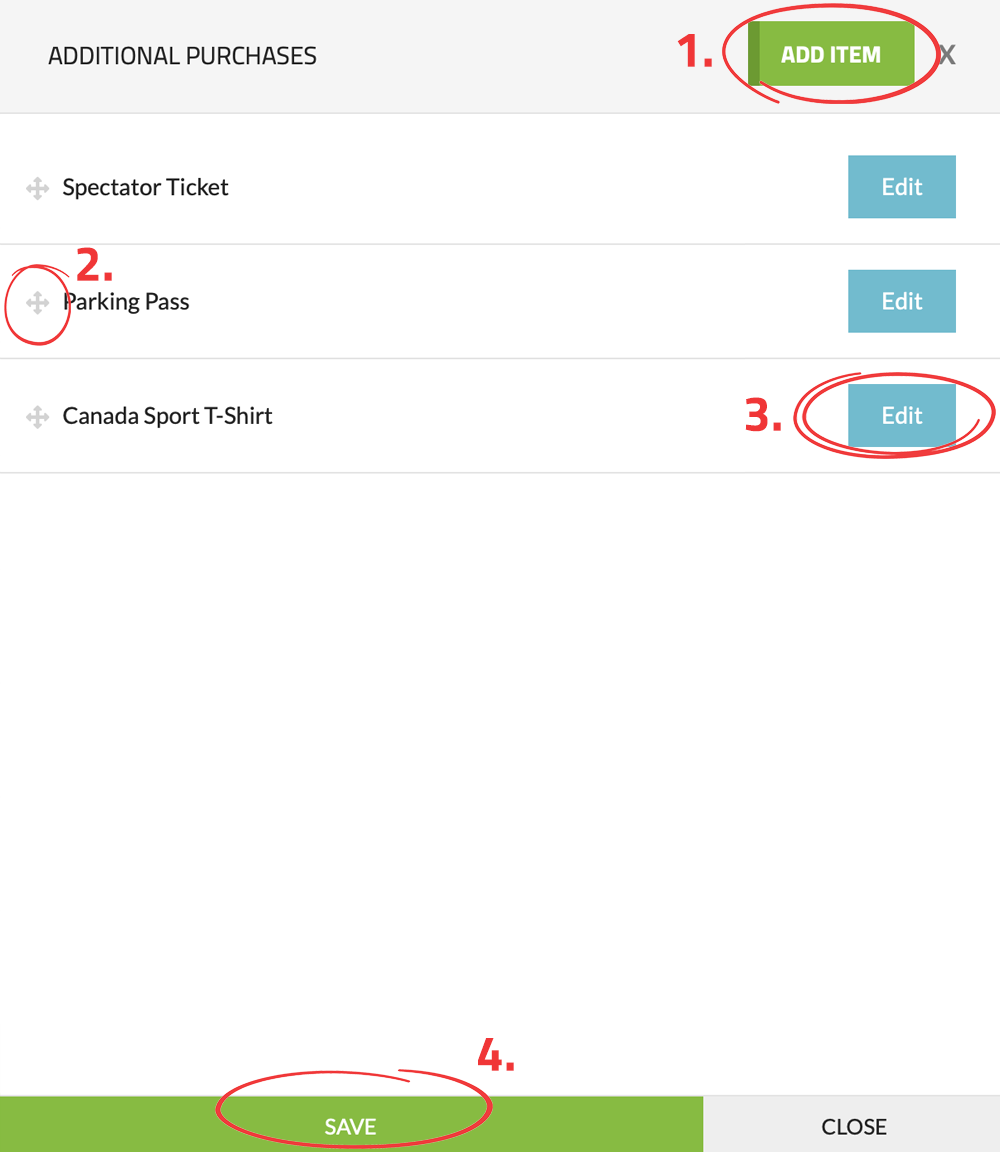
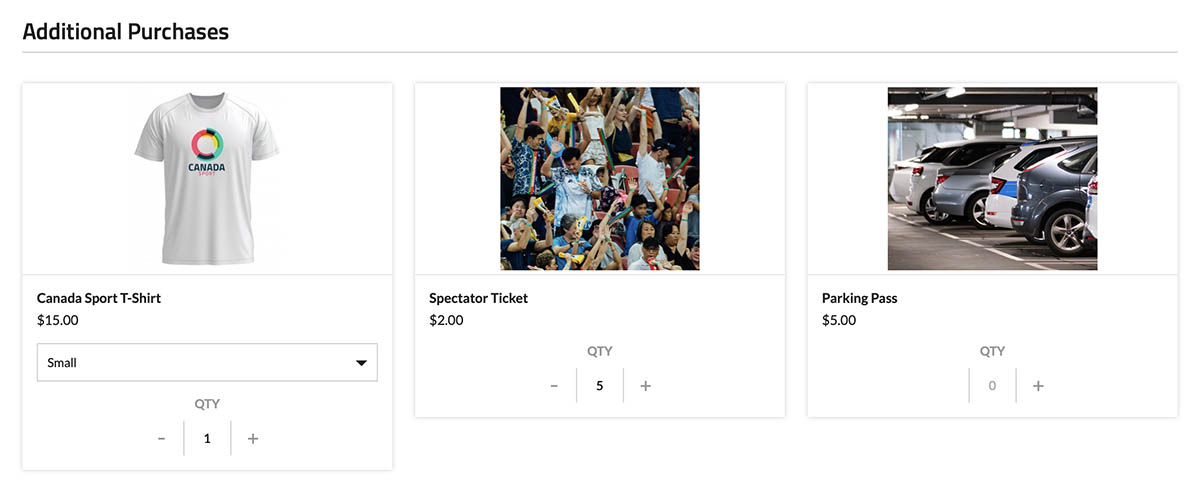
• Manage Questions |
| ADVANCED SETTINGS |
|---|
|
Disable public webpage
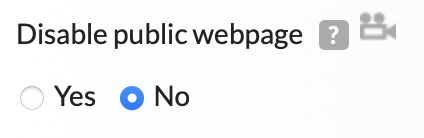
Each event setup has the capability of having its own dedicated webpage. You can find additional information on this feature by referring to the webpage documentation. If you prefer not to use the webpage component and instead wish to redirect registrants straight to your registration form, you can easily disable the webpage.
|
|
Hide social media sharing
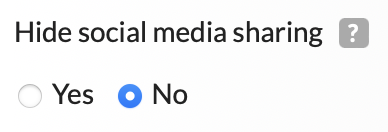
Every event webpage includes a social media sharing widget that allows participants to effortlessly share your event on Facebook, Twitter, and other platforms. If you wish to remove this widget from your event webpage, you can do so.
|
|
Redirect this page to another page
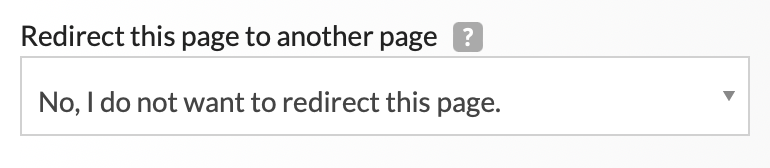
With this feature, you can redirect other event pages you have created to a different event page. This can come in handy, for instance, if you have organized the 2022 Trackie Championships and then set up the 2023 edition the following year. By redirecting your old 2022 page to the new 2023 page, you can ensure that registrants who come across the old page through search engines or other means are automatically redirected to the latest information.
|
|
Require billing phone
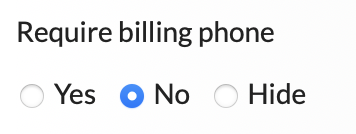
You can decide whether or not to require the registrant's billing phone number during registration.
|
|
Enable entry notification
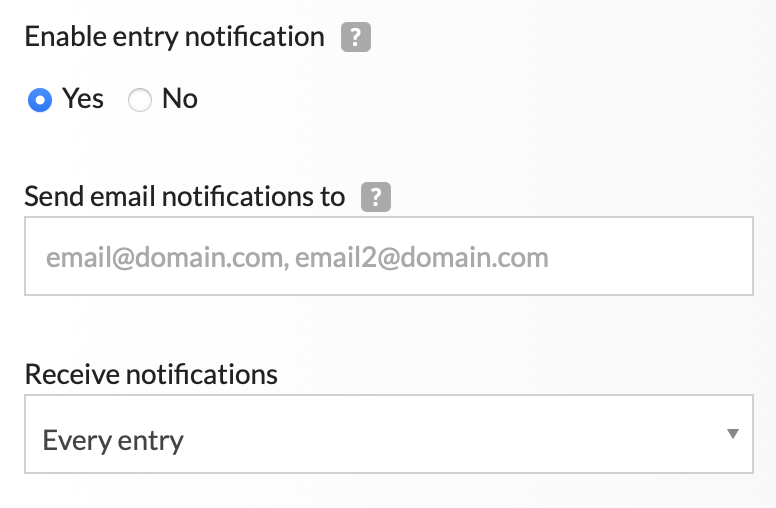
Enables you to receive email alerts whenever registrants register for your event. You can input multiple email addresses by separating each one with a comma.
|
|
Enable registrant transfer
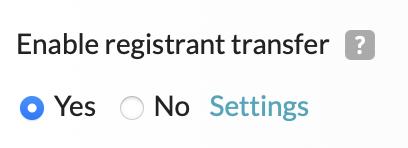
Enables registrants the ability to transfer their registration to another individual.
|
|
Integrate Google Analytics
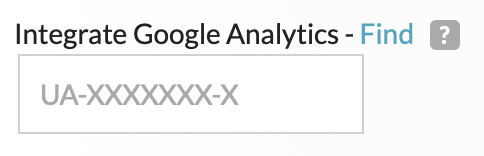
Allows you to monitor website traffic and analytics through your personal Google Analytics account.
|
Public Confirmation List

This feature allows you to control the visibility of your event's registration list. If set to "yes", anyone can view the list; if set to "no", only you as an administrator can view it; and if set to "Registrant access only", only registered individuals can access the confirmation list. Checking the "Show only after registration deadline" option will hide your public confirmation list from the public until after the registration deadline has passed. Confirmation list format This setting allows you to modify the format of your confirmation.
|
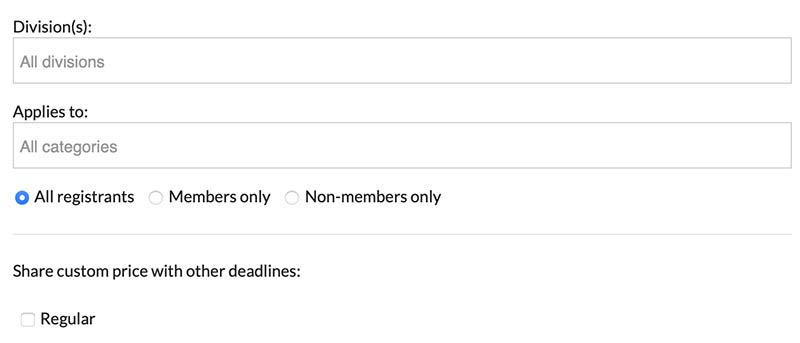
Combine entry list with other pages

This setting allows you to combine different event registrations into a single confirmation list. For instance, if you wanted to create separate registration forms for provincial team athletes and open athletes, you could still combine their entries to appear together. |
|
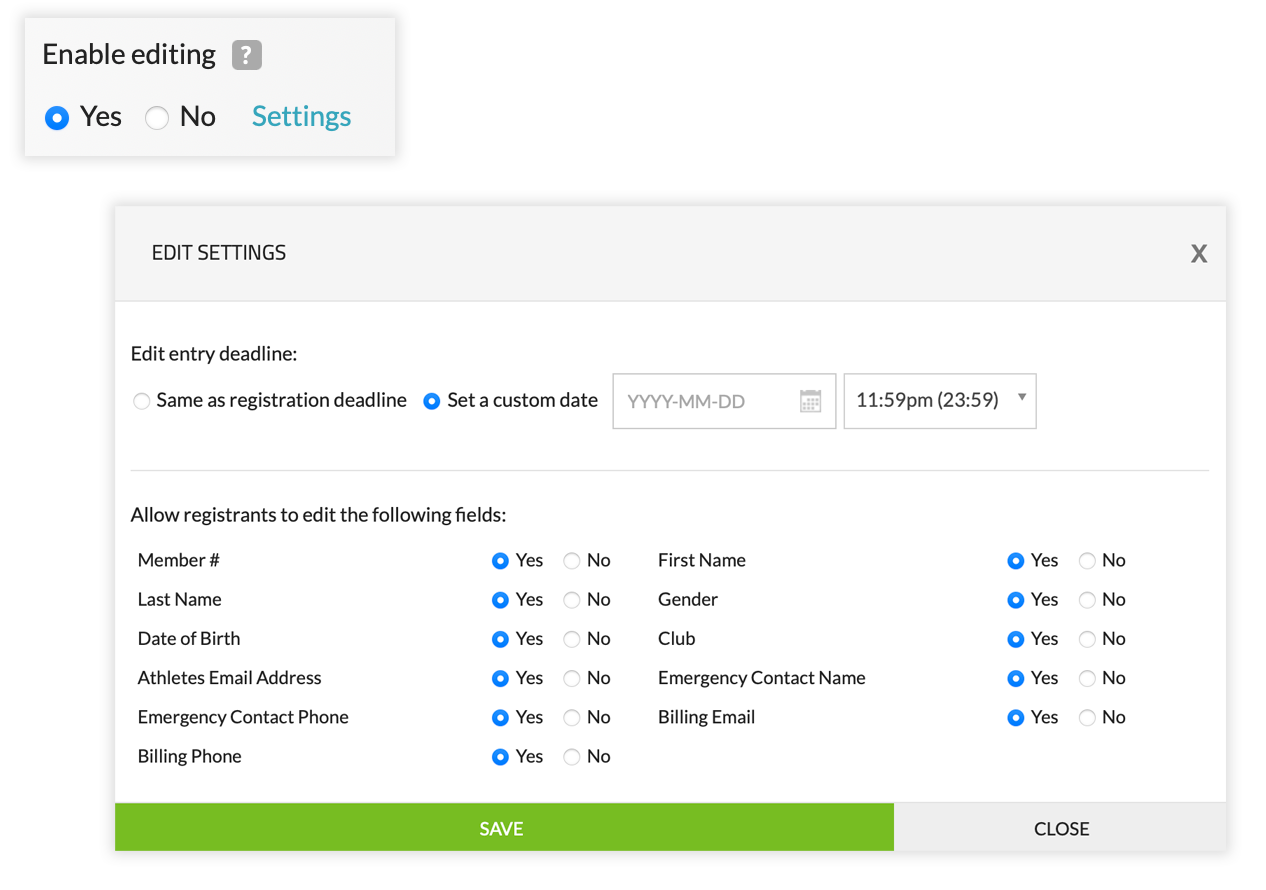
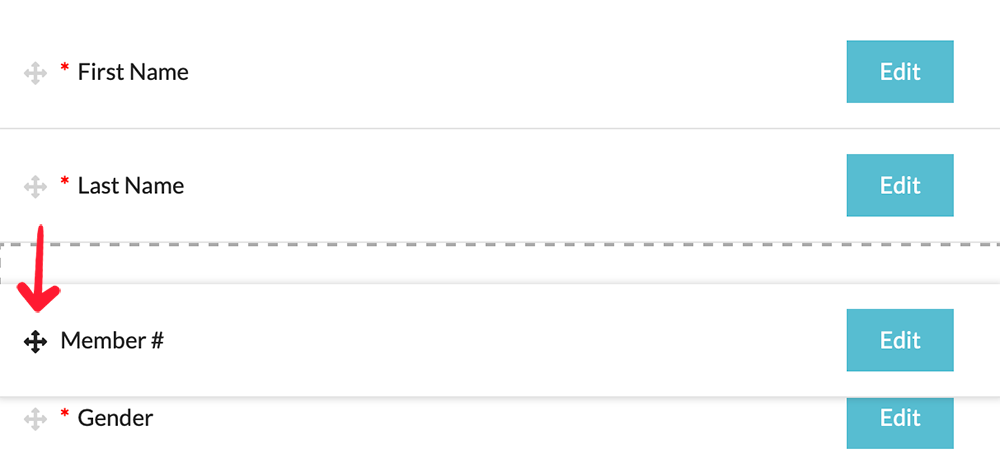
Enable editing
If you want registrants to have the ability to modify their information after completing registration. Through the "settings" link, you can select which fields are editable and establish an edit entry deadline if required. |
|
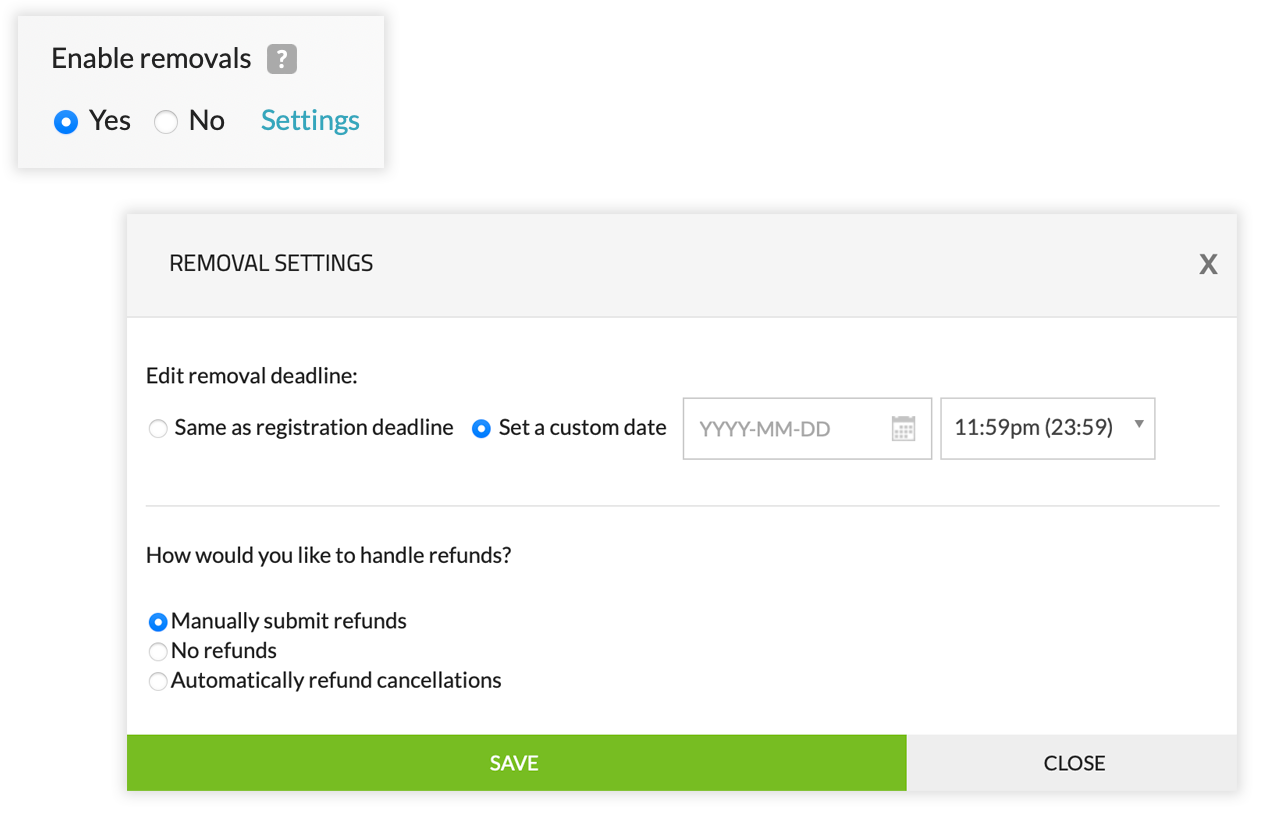
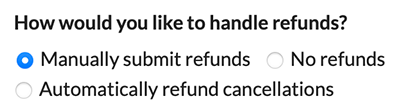
Enable removals
Allows registrants the ability to cancel their own registration. Through the "settings" link, you can establish a cancellation deadline and determine the procedure for handling refunds. You can learn more on submitting refunds here |
|
Manually approve entries
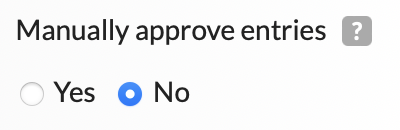
This setting allows you to hide registrants from the public confirmation list until they are manually approved by an administrator. Please keep in mind that if you are collecting online payments, registrants will still be charged when registering, even if their status is pending approval. If an individual is not approved and you want to issue a refund, you must still initiate the refund process manually. If you do not want registrants to pay during registration, we suggest using our registration limits & waitlist feature instead. |
|
Hide on Trackie
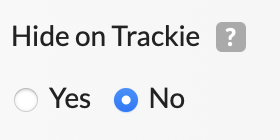
This setting allows you to hide your event from our public calendar. |
|
Disable registration
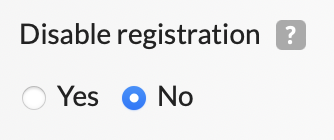
This setting enables you to deactivate your registration form, preventing anyone from registering for your event. However, as an administrator, you will still have access.
|
|
Setup access code
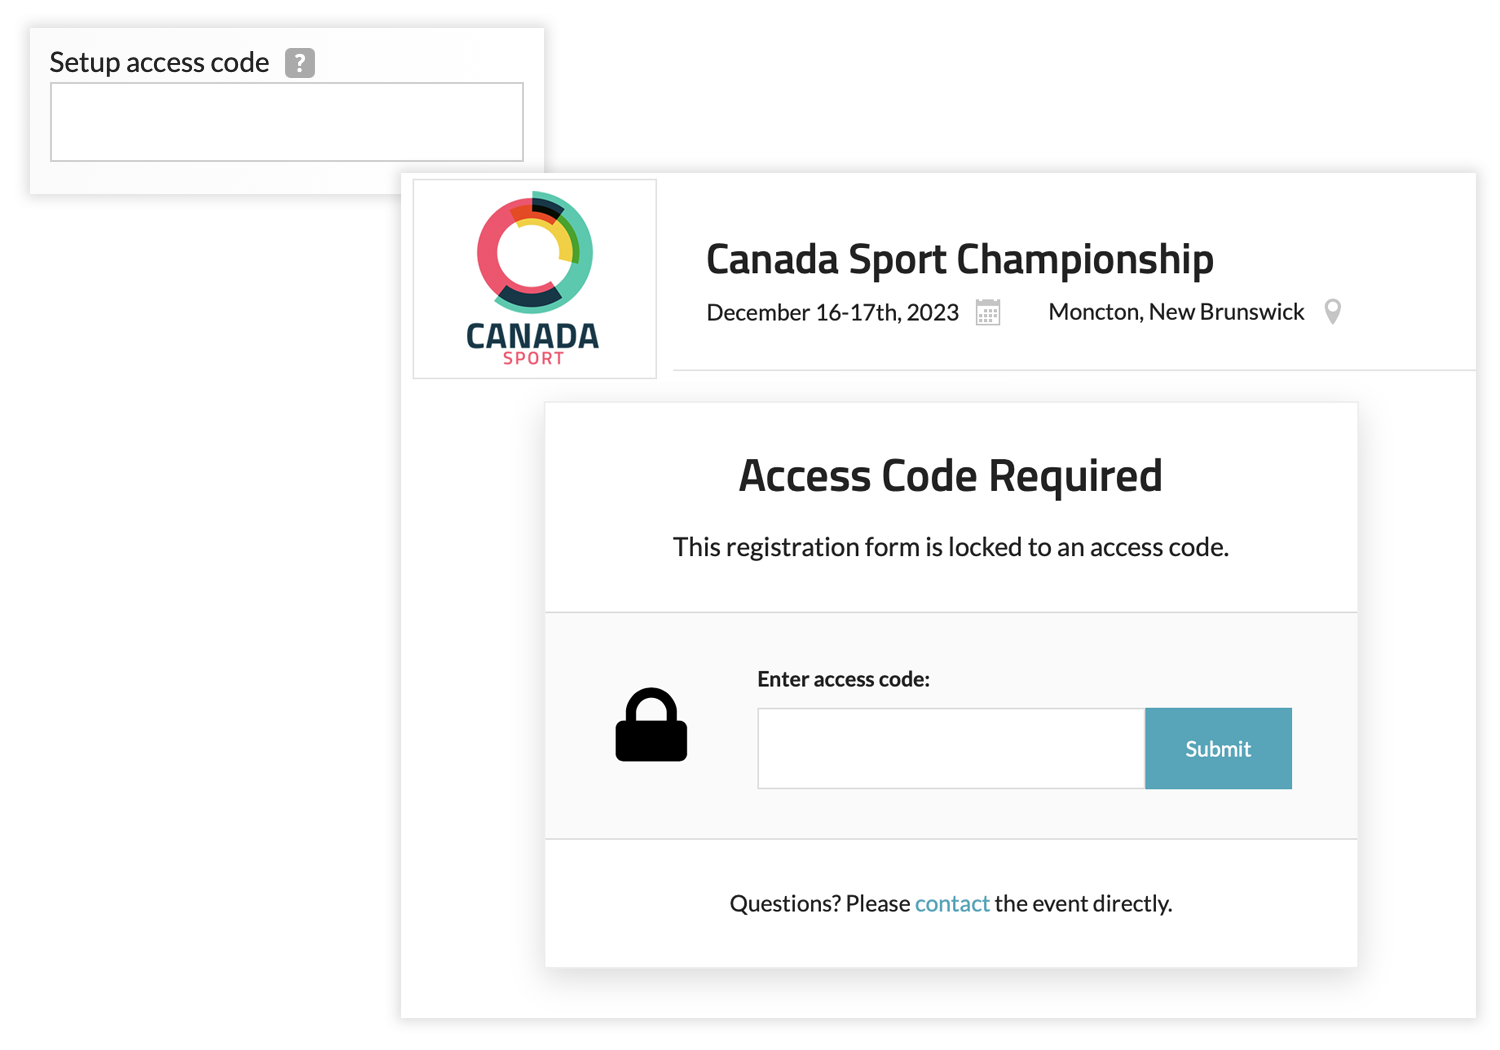
This setting allows you to password-protect your registration form, which means that without the access code, registrants will be unable to register for your event.
|
Restrict access to specific emails

This setting enables you to limit access to your registration form to particular email addresses. To register for your event, individuals would need to log in with their email first to gain access. If the "Allow registration to others as Unattached" option is selected, anyone can register for your event. However, if their email address is not on your list, they will need to register as "Unattached" (e.g. without the ability to choose a club/team). |
|
Enable volunteer promotion
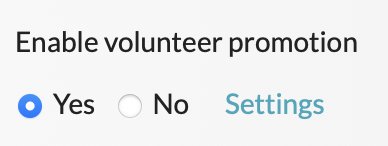
As this functionality is more comprehensive, it has its own section in the Knowledge Base where you can learn how it works.
|
|
Enable donations
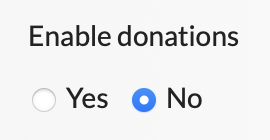
As this functionality is more comprehensive, it has its own section in the Knowledge Base where you can learn how it works.
|
|
Enable matches/brackets

As this functionality is more comprehensive, it has its own section in the Knowledge Base where you can learn how it works.
|
Enable Hy-Tek Team Manager imports

This setting allows you to upload your meets Hy-Tek Meet Manager (*.ev1) file to give coaches the ability to work on their entries using Hy-Tek Team Manager which they can later import into Trackie. You can create your meets (*.ev1) file in Hy-Tek Meet Manager by choosing "File" → "Export" → "Meet Events for Team Manager". |